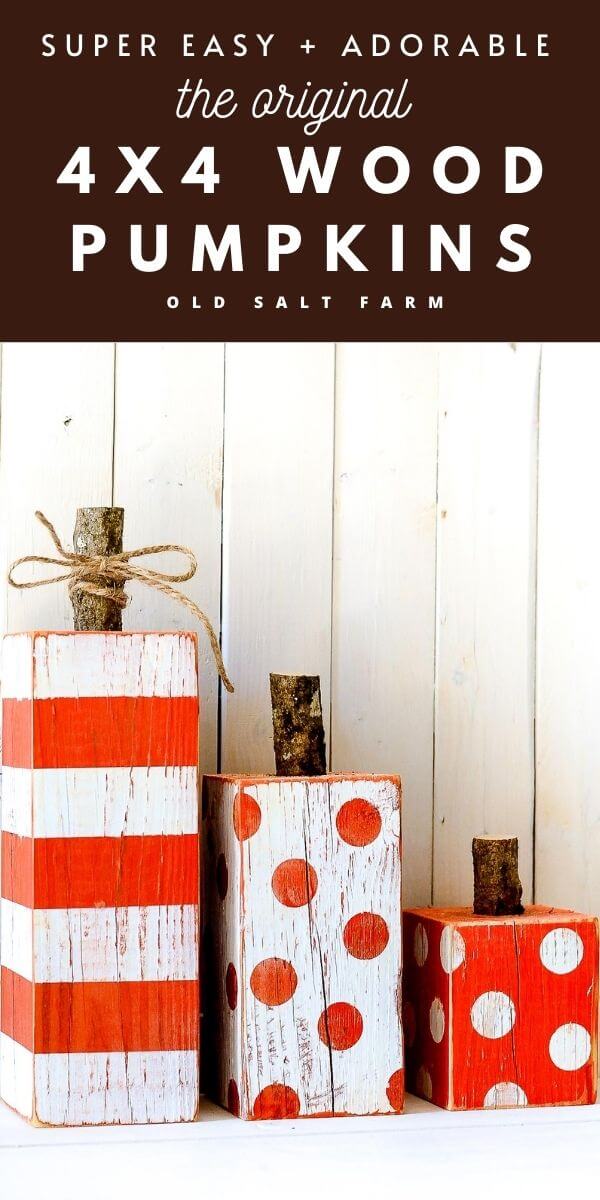
DIY Striped & Polka Dot 4×4 Wood Pumpkins
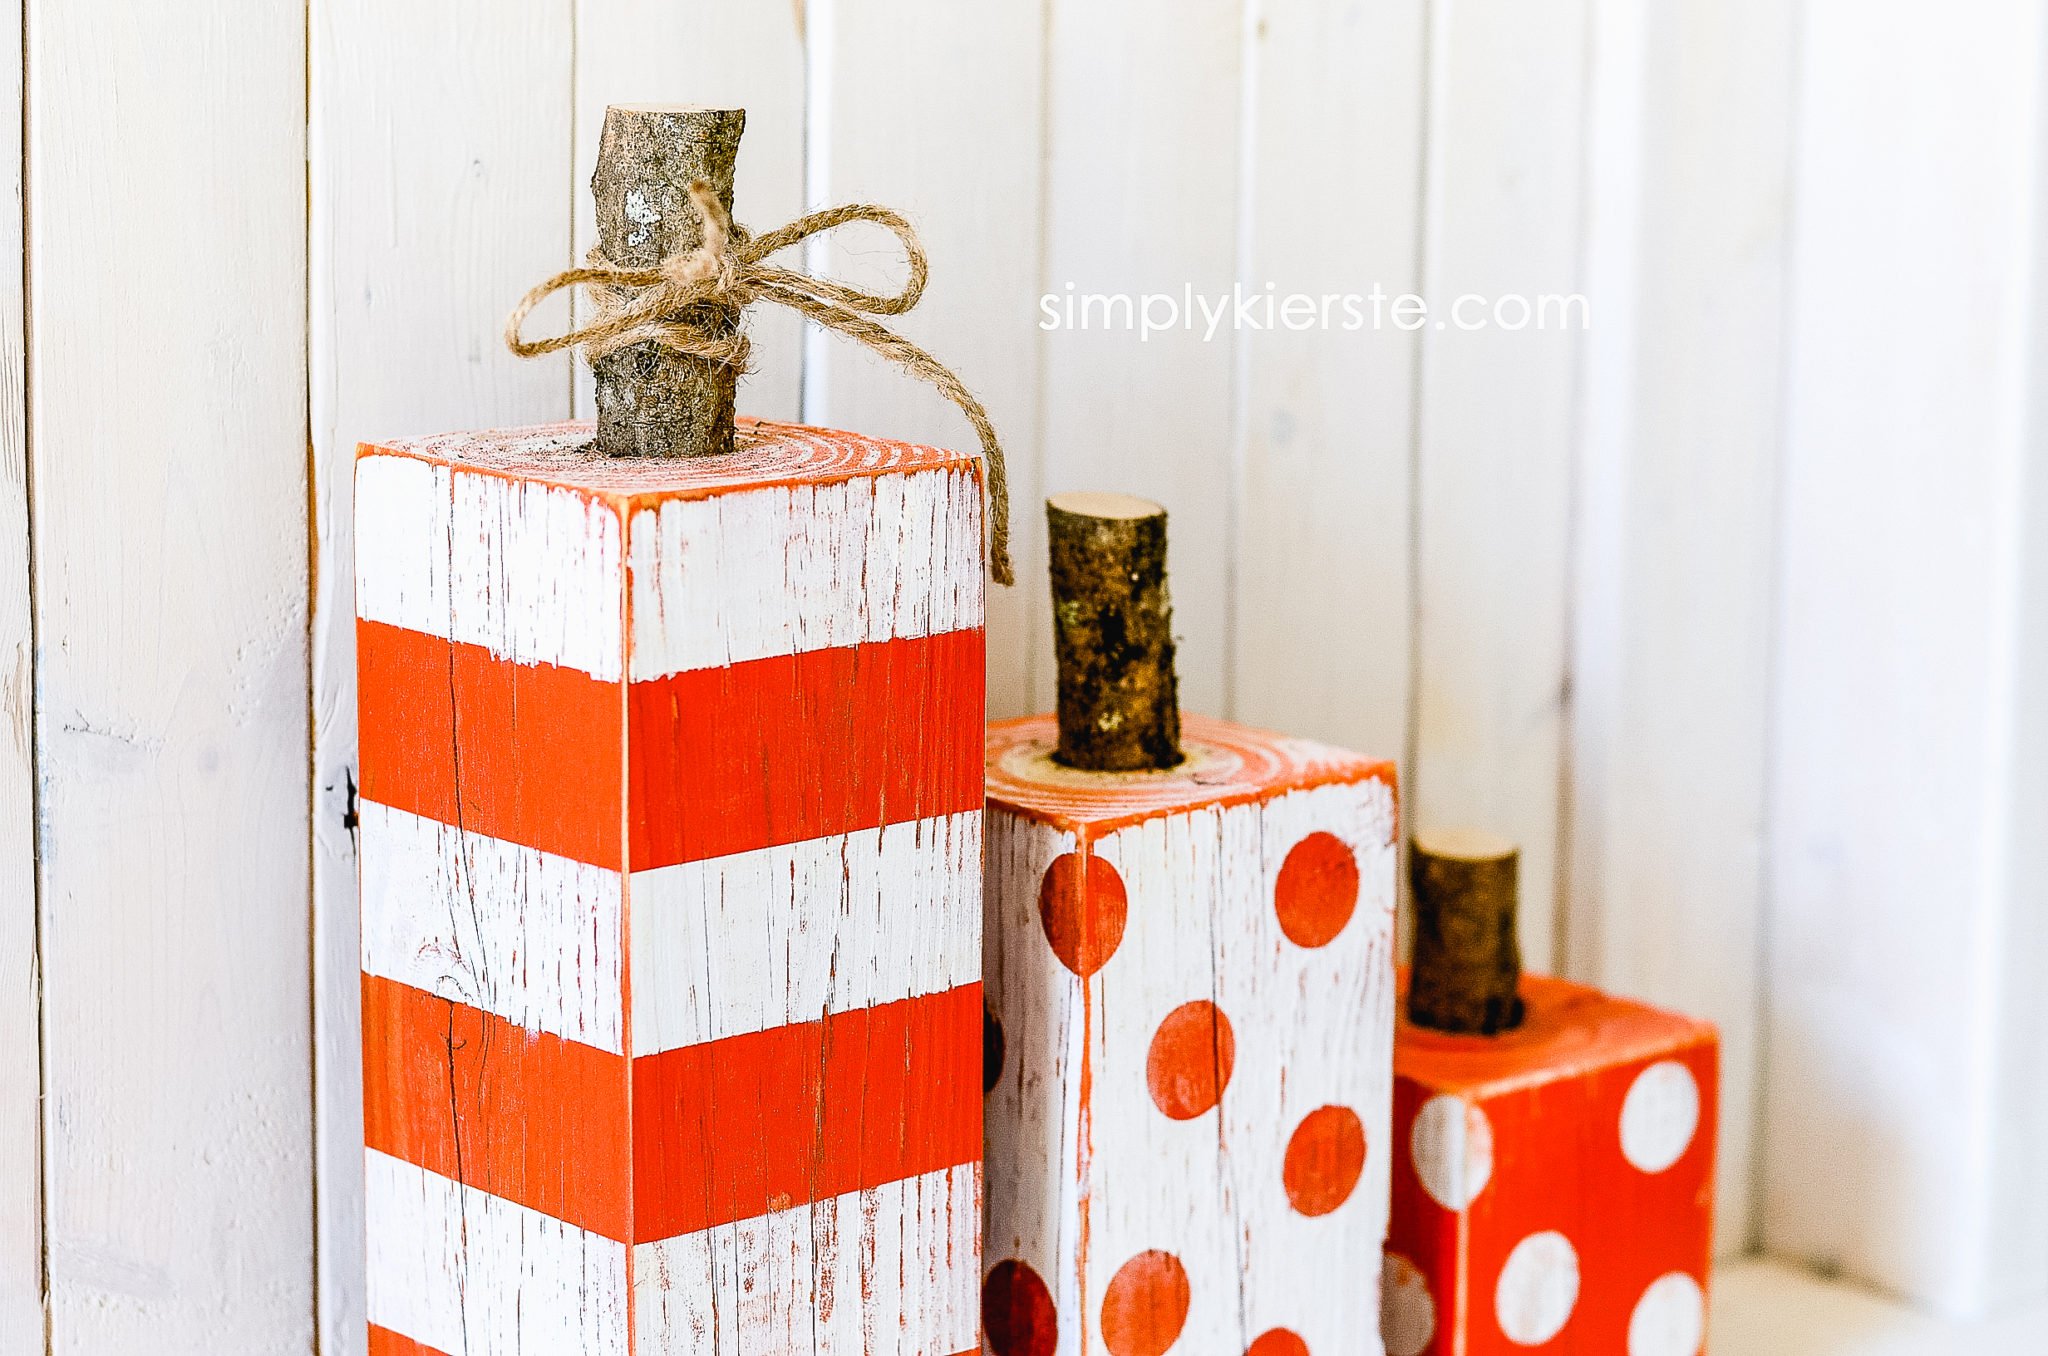
Just so you know, I’m totally obsessed with stripes. And polka dots. I’m giddy over these Striped & Polka Dot 4×4 Wood Pumpkins, and they are fall decor perfection!
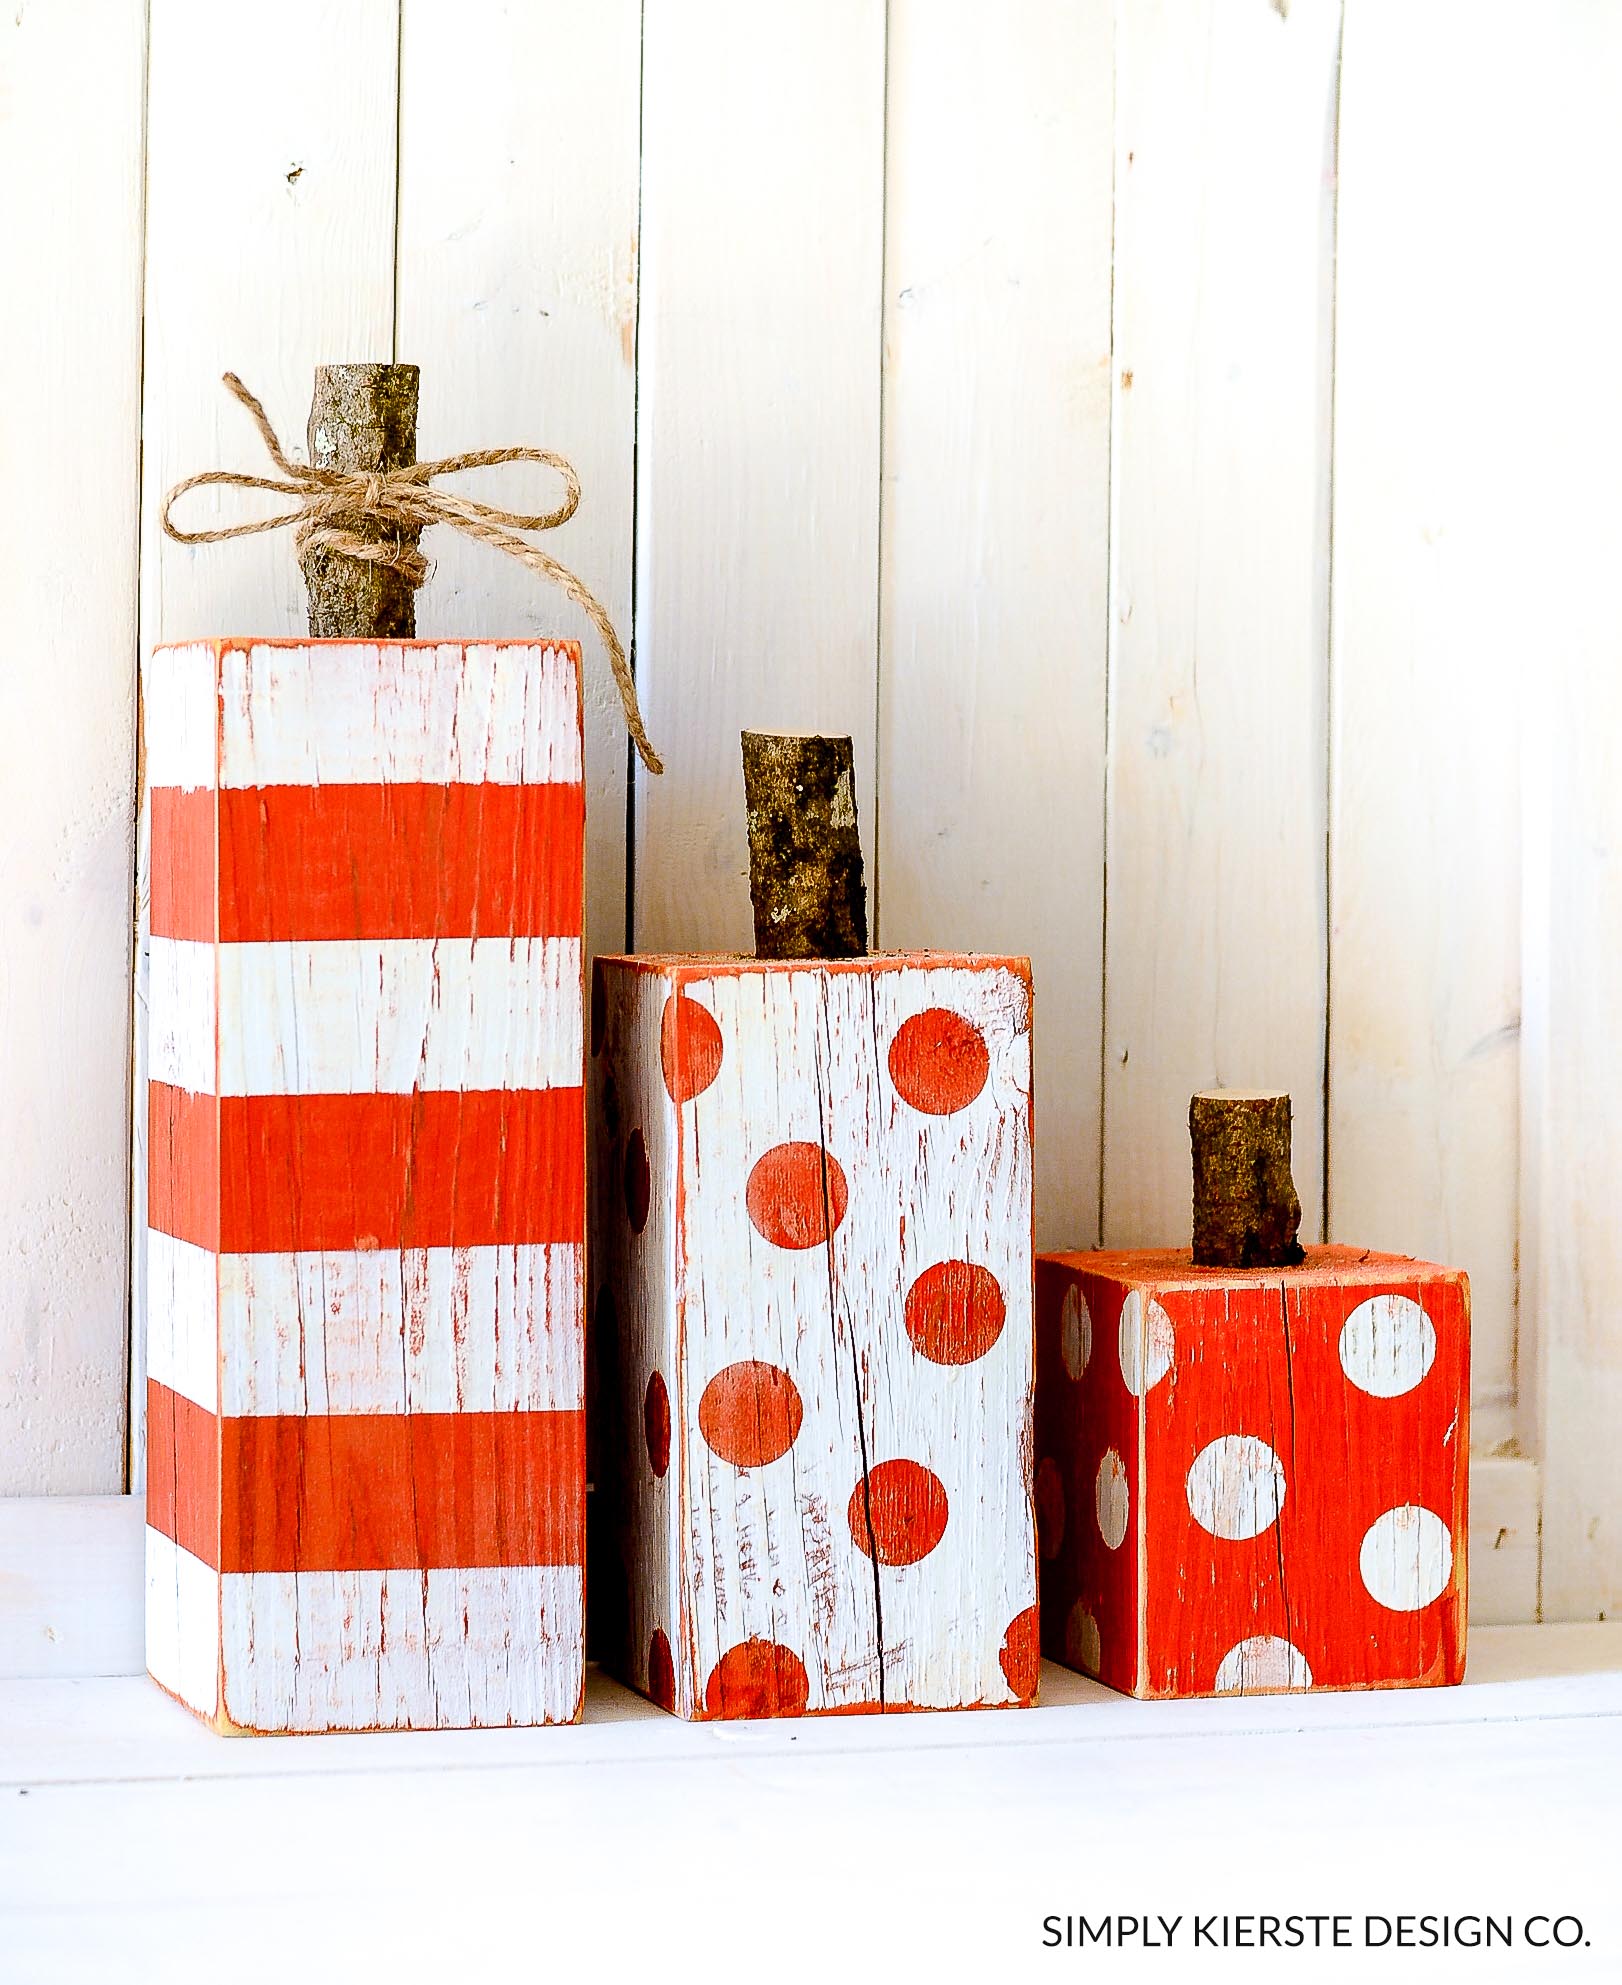
Could you not DIE????
STRIPED & POLKA DOT 4×4 WOOD PUMPKINS
You are going to love how easy they are to make…and I’m going to show you how! These would be really fun to make in a group (Super Saturday), as a gift, or for your own cute house! I made these for less than $2, since I already had the paint.
Going in on it with someone will drastically reduce your costs, because you can share paint, and the 4×4 post. You can get a lot of the supplies at Michaels–craft paint, twine, hot glue, vinyl, and even circle stickers if you don’t have a Silhouette. The rest of the stuff I got at Home Depot. Or, make these for others, and they become a really inexpensive and super adorable gift idea!
SUPPLIES:
(affiliate links are included for your convenience)
- -4×4 post, cut into three lengths–10 inches, 7 inches, and 4 inches
- –spray paint in orange and white OR craft paint
- -1 inch (approx.) stick or branch
- -painters tape
- -round stickers/vinyl circles
- -drill
- -1 inch spade bit
- –wood glue or hot glue
- -jute
- -sander
DIRECTIONS:
1. The first step is to paint your wood the base color–the color you want your polka dots to be. For the stripes, your base color will be the one that you DON’T want the top to be. Let it dry completely.
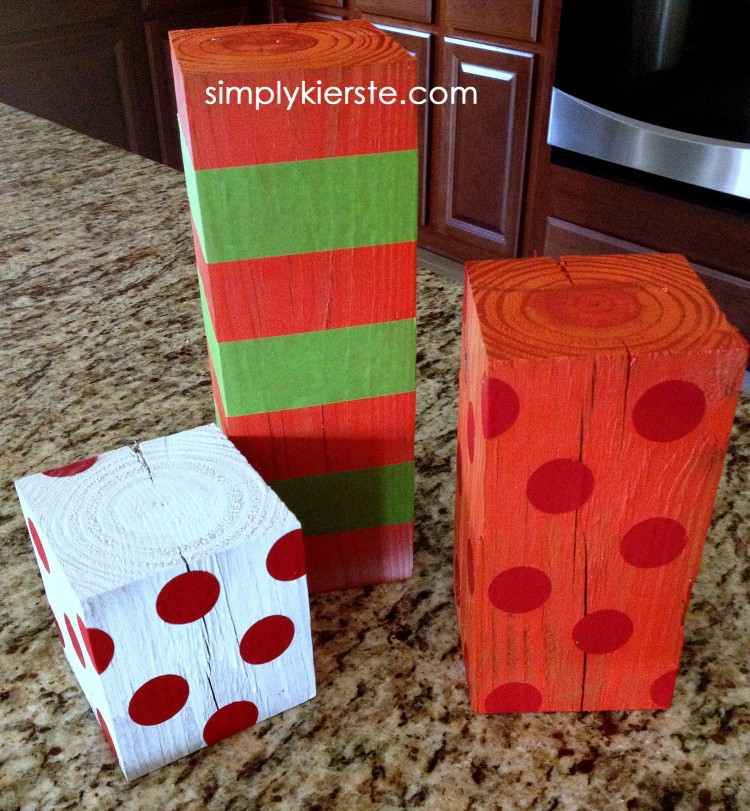
2. Apply your round stickers to the ( I used my Silhouette to cut out 1 inch circles) pieces of wood that you want to be polka dotted. I didn’t have a pattern that I followed–I just added them the way I liked them! Apply your painters tape to the piece of wood you want to be striped. I used Frog Tape, and applied it so that I skipped a space equal to the size of the tape, so that the striped would be even.
3. Once the tape and stickers are on, you can paint the wood the top color–the other color! For example, if you painted a piece of wood white first, then added the stickers, you would spray it orange. The wood would end up being orange, with white polka dots. Let dry completely.
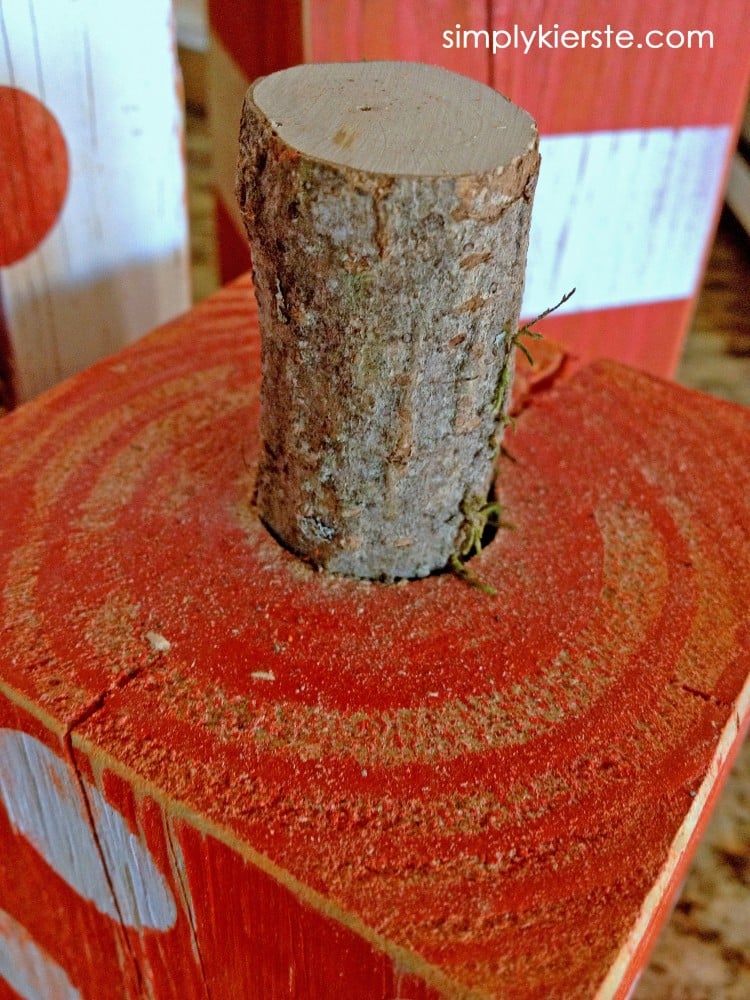
4. Remove the stickers and tape. Using a 1 inch spade bit, drill a hole in the top of each piece of wood. Cut your branch/stick down to the height that you want, then use hot glue or wood glue to secure it inside your drilled hole. If you use a branch that’s smaller or larger than 1 inch, you will have to use a different size spade bit. Try to find a branch that’s close to the size of one of your bits, or there will be a noticeable gap.
5. Sand the edges of your wood, and VERY lightly on the fronts. The paint will come off easily, so use a fine grit sandpaper and go very lightly. It’s so cute, because the color you painted first will come through, giving it a really great texture and dimension. Wipe of all the excess dust, and tie twine to the largest pumpkin! Ta-da!!! Darling striped & polka dot pumpkins!!!
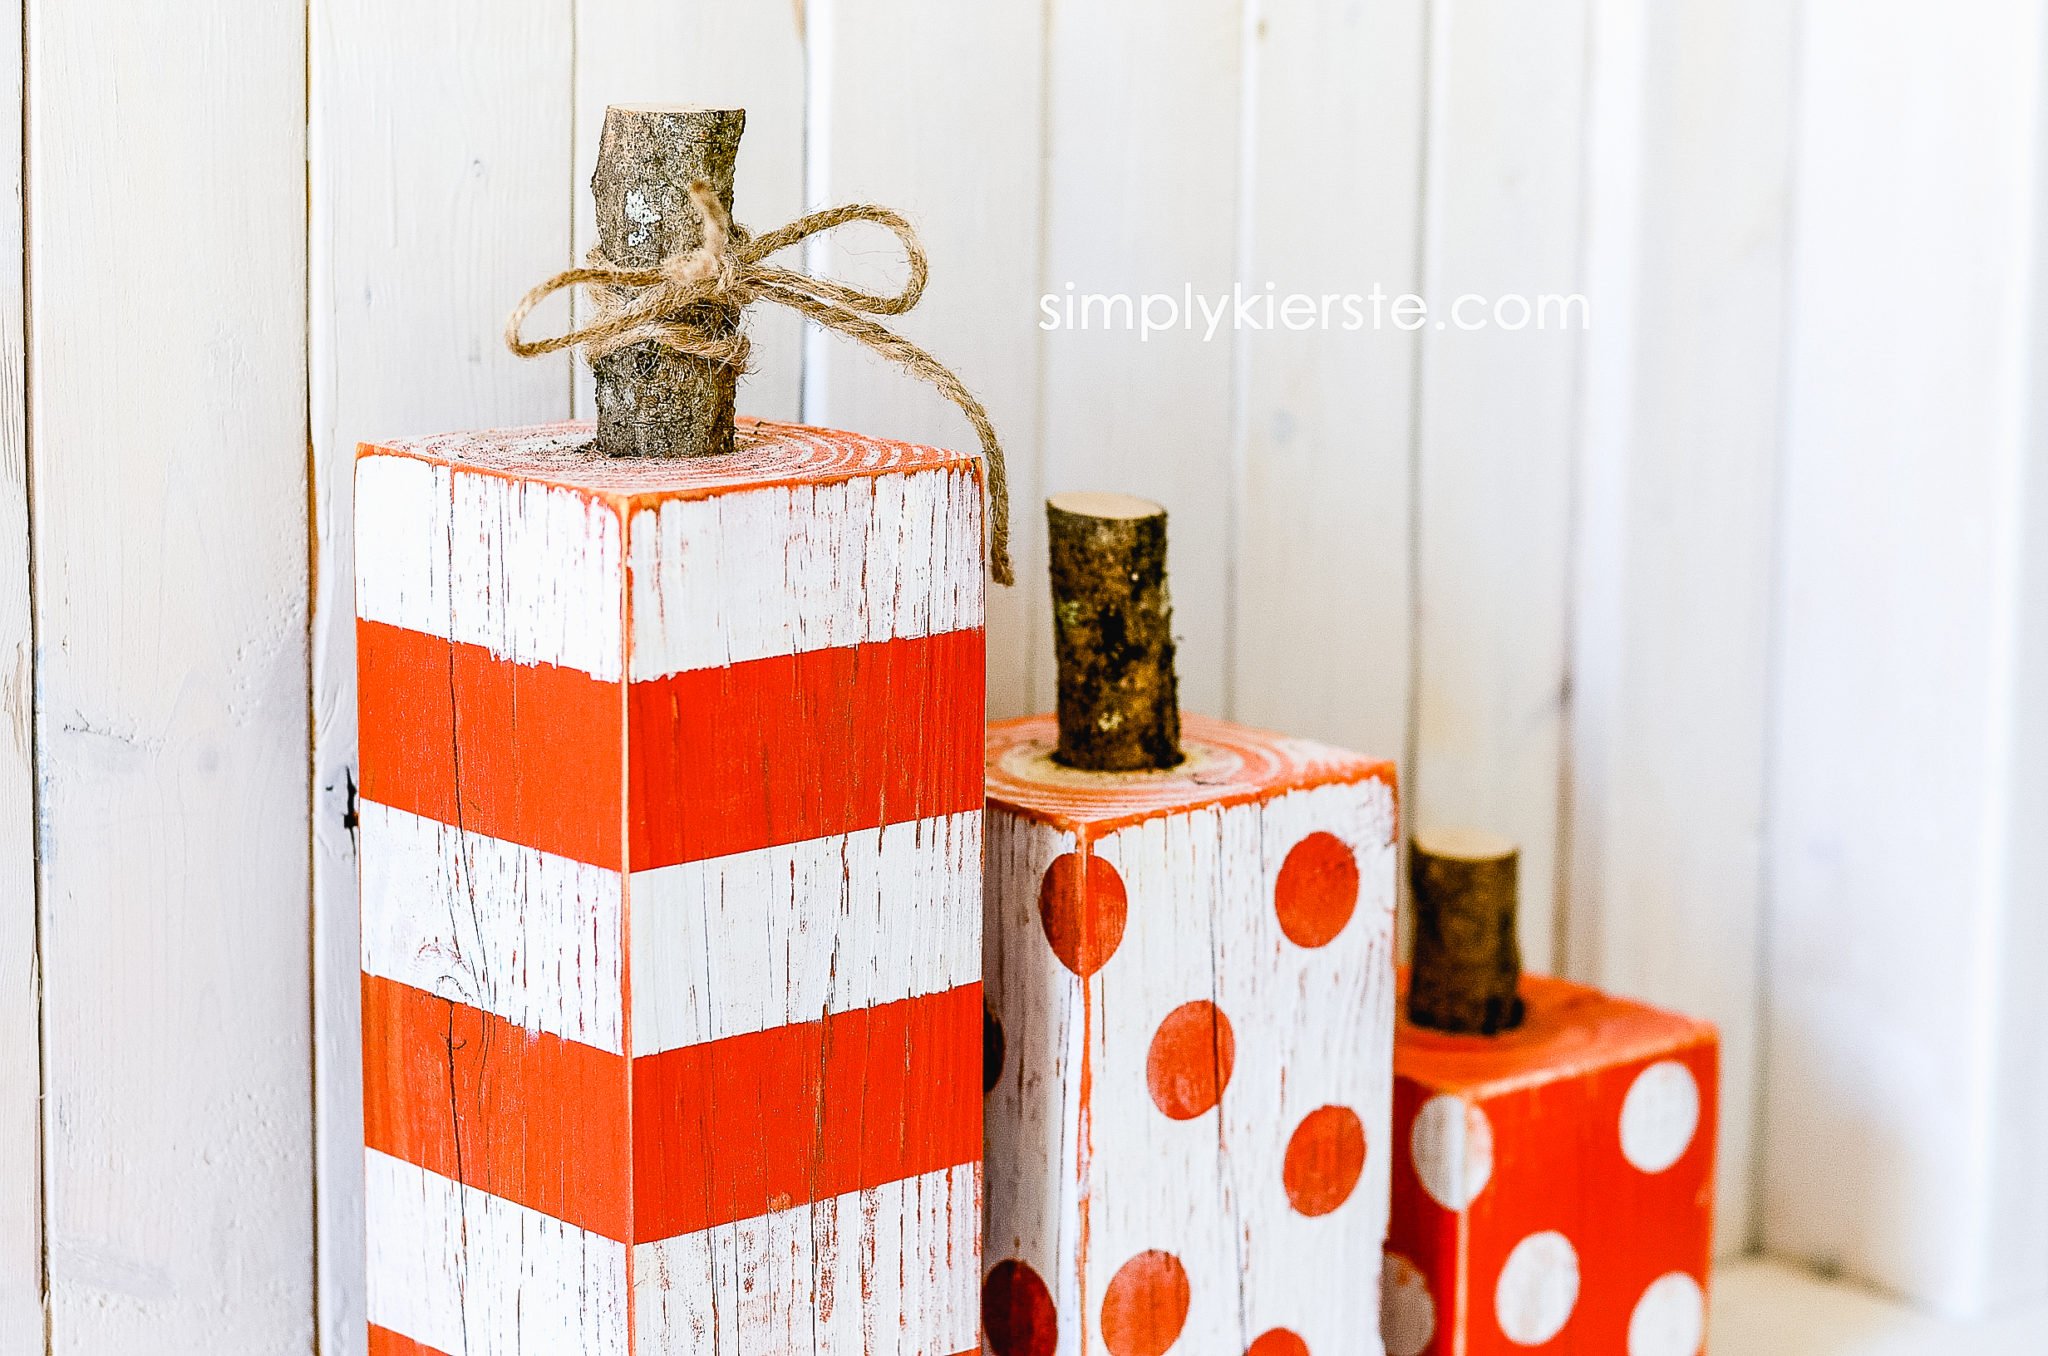
LOVE LOVE LOVE!!! These are the perfect fall decor, because they can stay out for fall, Halloween, and Thanksgiving!

Other Fall & Halloween projects you might like…
