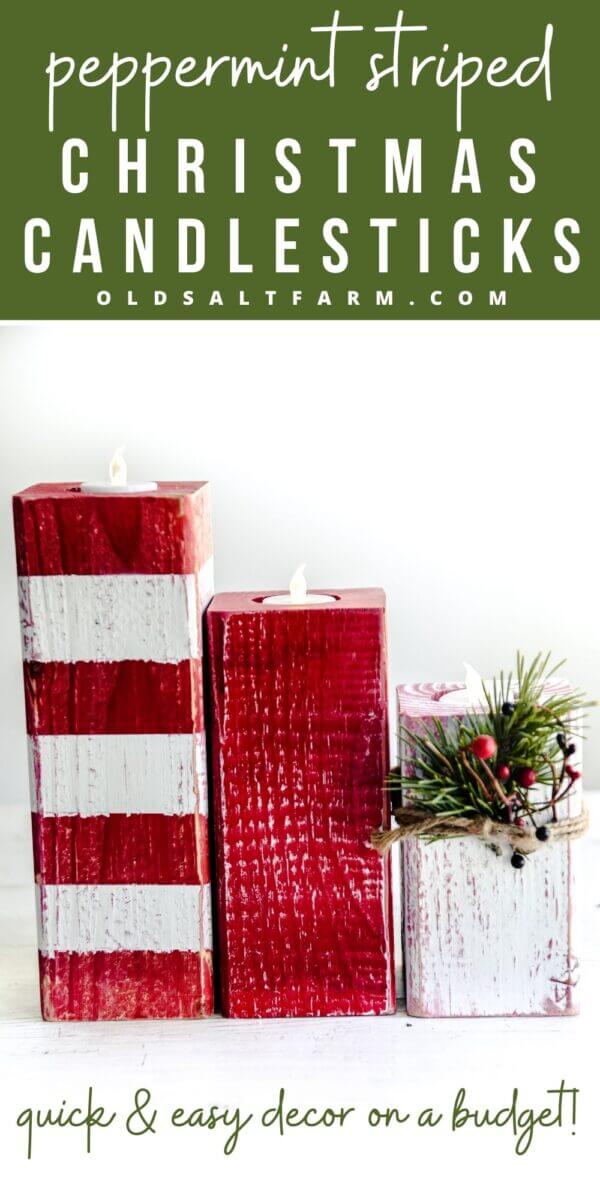
Christmas Peppermint Striped Candlesticks
Darling Peppermint Striped Christmas Candlesticks that are super easy to make, and perfect for your Christmas decor!
 I really love the striped and polka dot pumpkins I made this fall, and I thought the stripes would be perfect for the peppermint theme, and to add to my Christmas decor.
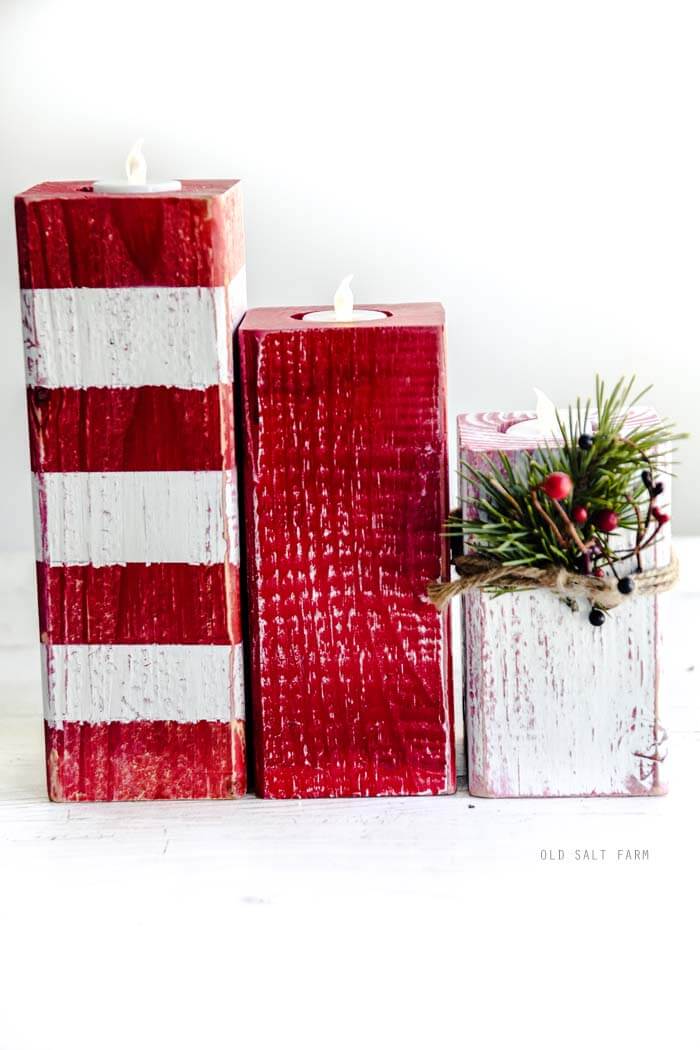
I made a set of three–a stripe, a plain white, and a plain red, then made them into candlesticks, by drilling a space for tea lights. They’re so quick and easy to make. They were done in an afternoon, and that includes drying time!
Peppermint Striped Christmas Candlesticks
Affiliate links are included below for your convenience. If you click on a link and make a purchase, I’ll receive a small commission at no extra cost to you.
SUPPLIES:
- -4×4 post, cut into 3 pieces, 10 inches, 8 inches & 6 inches (or other desired sizes)
- -Frog Tape
- -Spray Paint
- -Sander
- -Drill
- -1 1/2 inch spade bit
- OR 1 1/2 inch. Forstner bit
- -Twine/Jute
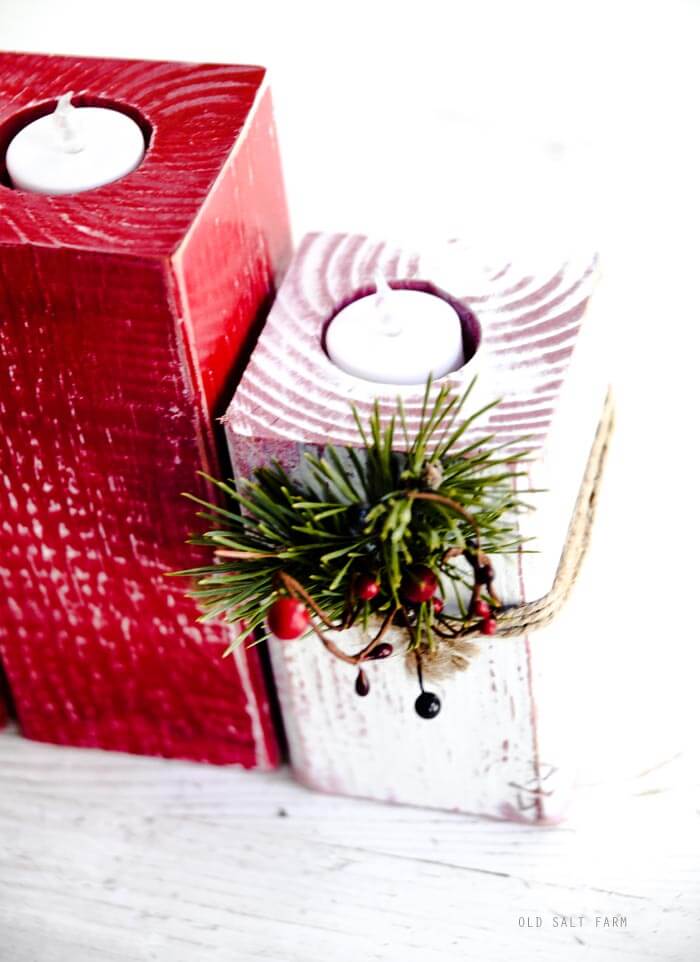
- –battery operated tea lights.
DIRECTIONS:
I used the same technique to make the stripes as I did with the pumpkins!
For the plain pumpkins, I like having the colors layered, so I painted the white post red first, then white, so when I sanded and distressed it, it would be white with red peeking through. The opposite would be for the red post. I also painted the entire striped post red first, then added the tape for the stripes and painted white on top. After the paint was dry, I used a sander to distress each piece.
I used a 1 1/2 inch spade bit (you can get them for as low as $6 as Home Depot) on my drill to create the opening for the tea lights. Sometimes a spade bit can be a bit tricky at that size–I used it because I had it–but a Forstner bit’s blade is designed a bit differently.

I have these on my kitchen table and LOVE them! They would be darling for party centerpieces, and can be used indoors safely if you use battery operated tea lights. They would also look cute on a mantel, entry table, window ledge, and probably anyplace. ☺ I’m crazy about stripes, admittedly!!

Don’t forget to check out my new book, Simply Tradition: 70 Fun & Easy Holiday Ideas for Families. It’s chock full of holiday traditions, ideas, and recipes for every family–and it makes a great gift!