
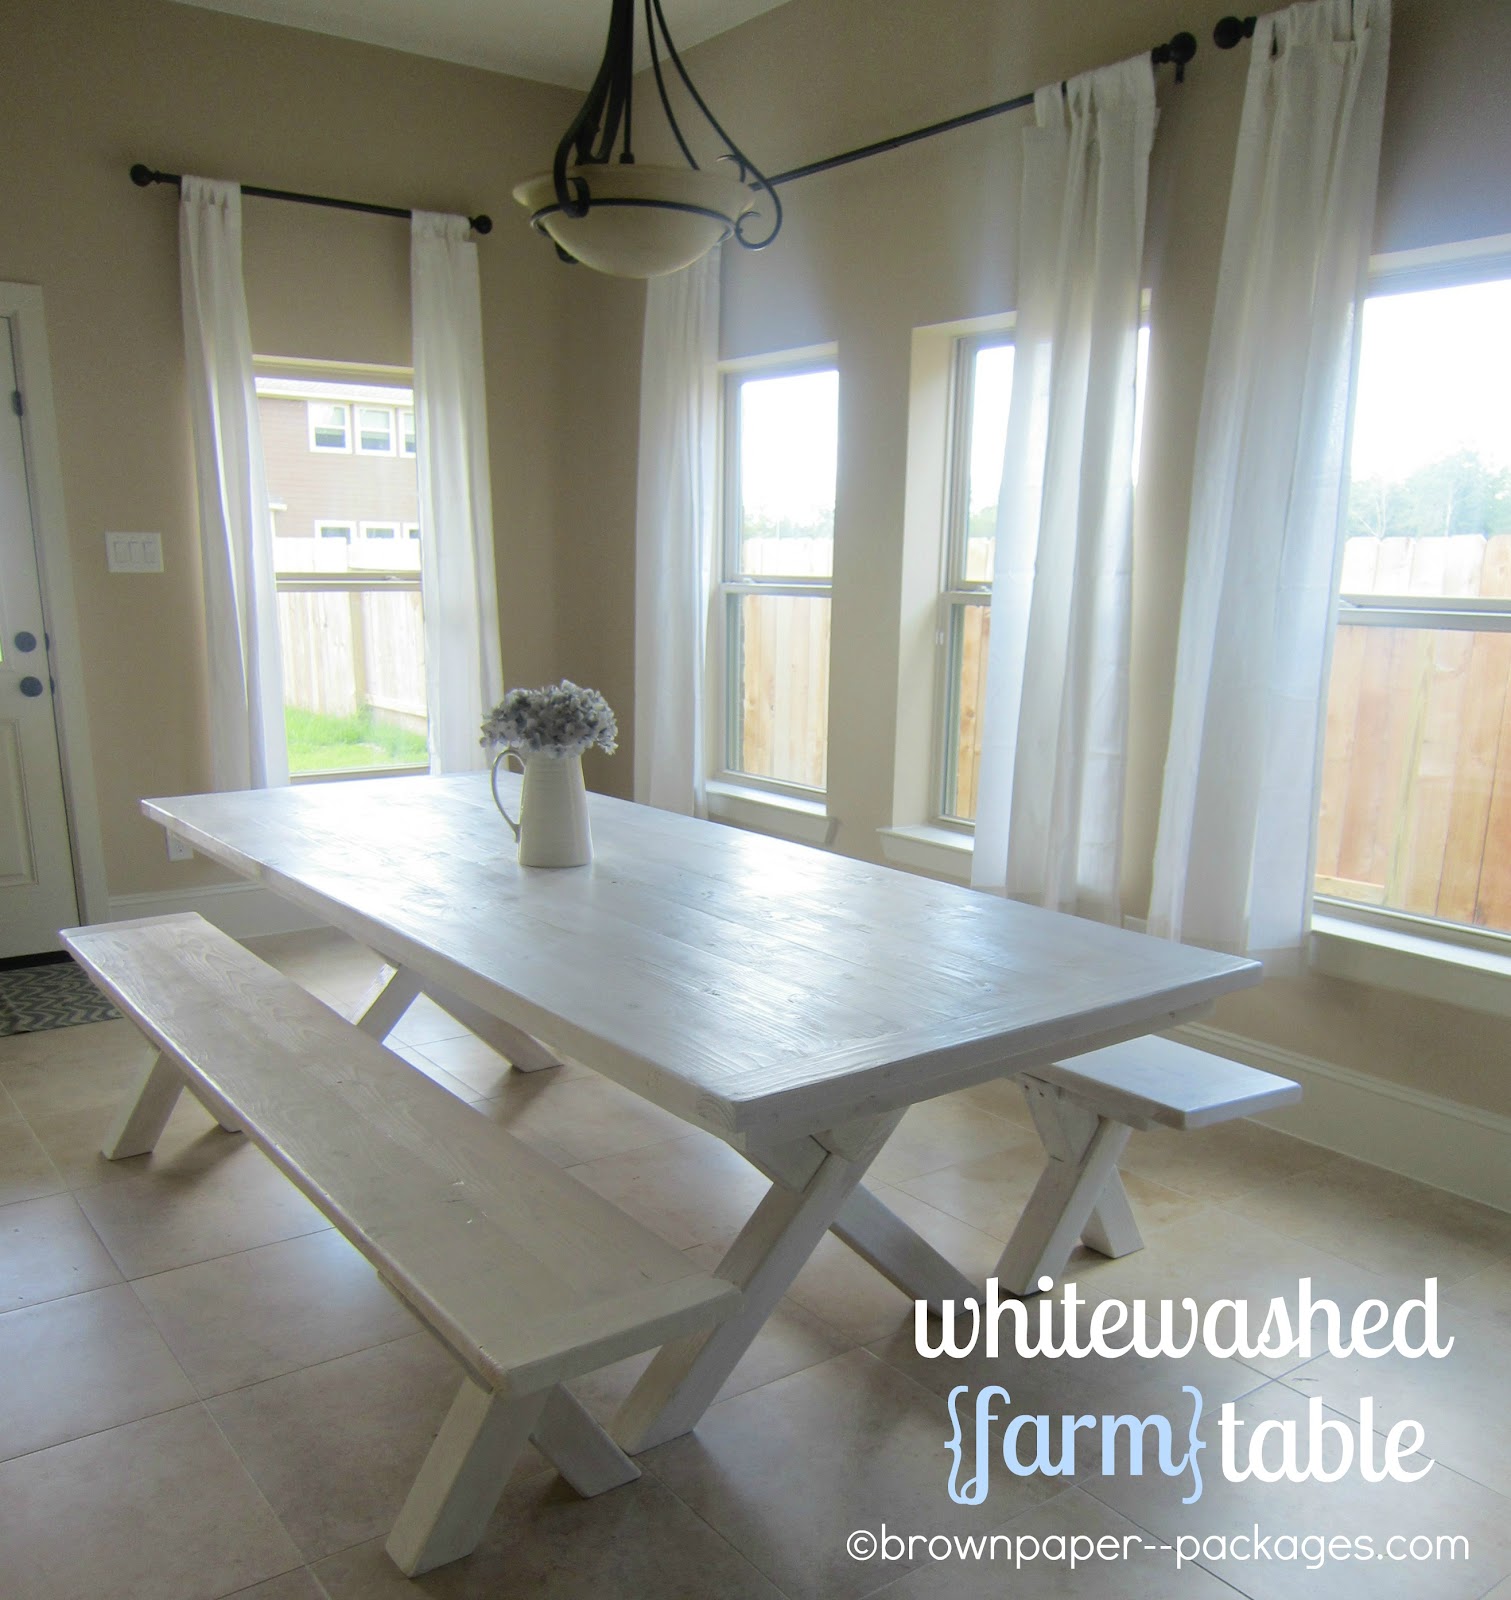
{whitewashed farm table}
When we bought this house, I quickly realized that the square counter height table we had wouldn’t work in the rectangle dining room we would have now. As soon as I saw the space, I knew exactly what I wanted–a large, farm table with benches with a whitewashed finish–perfect for our family and entertaining friends. My husband made the table & benches the week we were moving, and I finished the whitewashing literally as they were getting ready to put it on the moving truck. I absolutely LOVE the finished product, and it was so worth hurrying to get it done before we left!

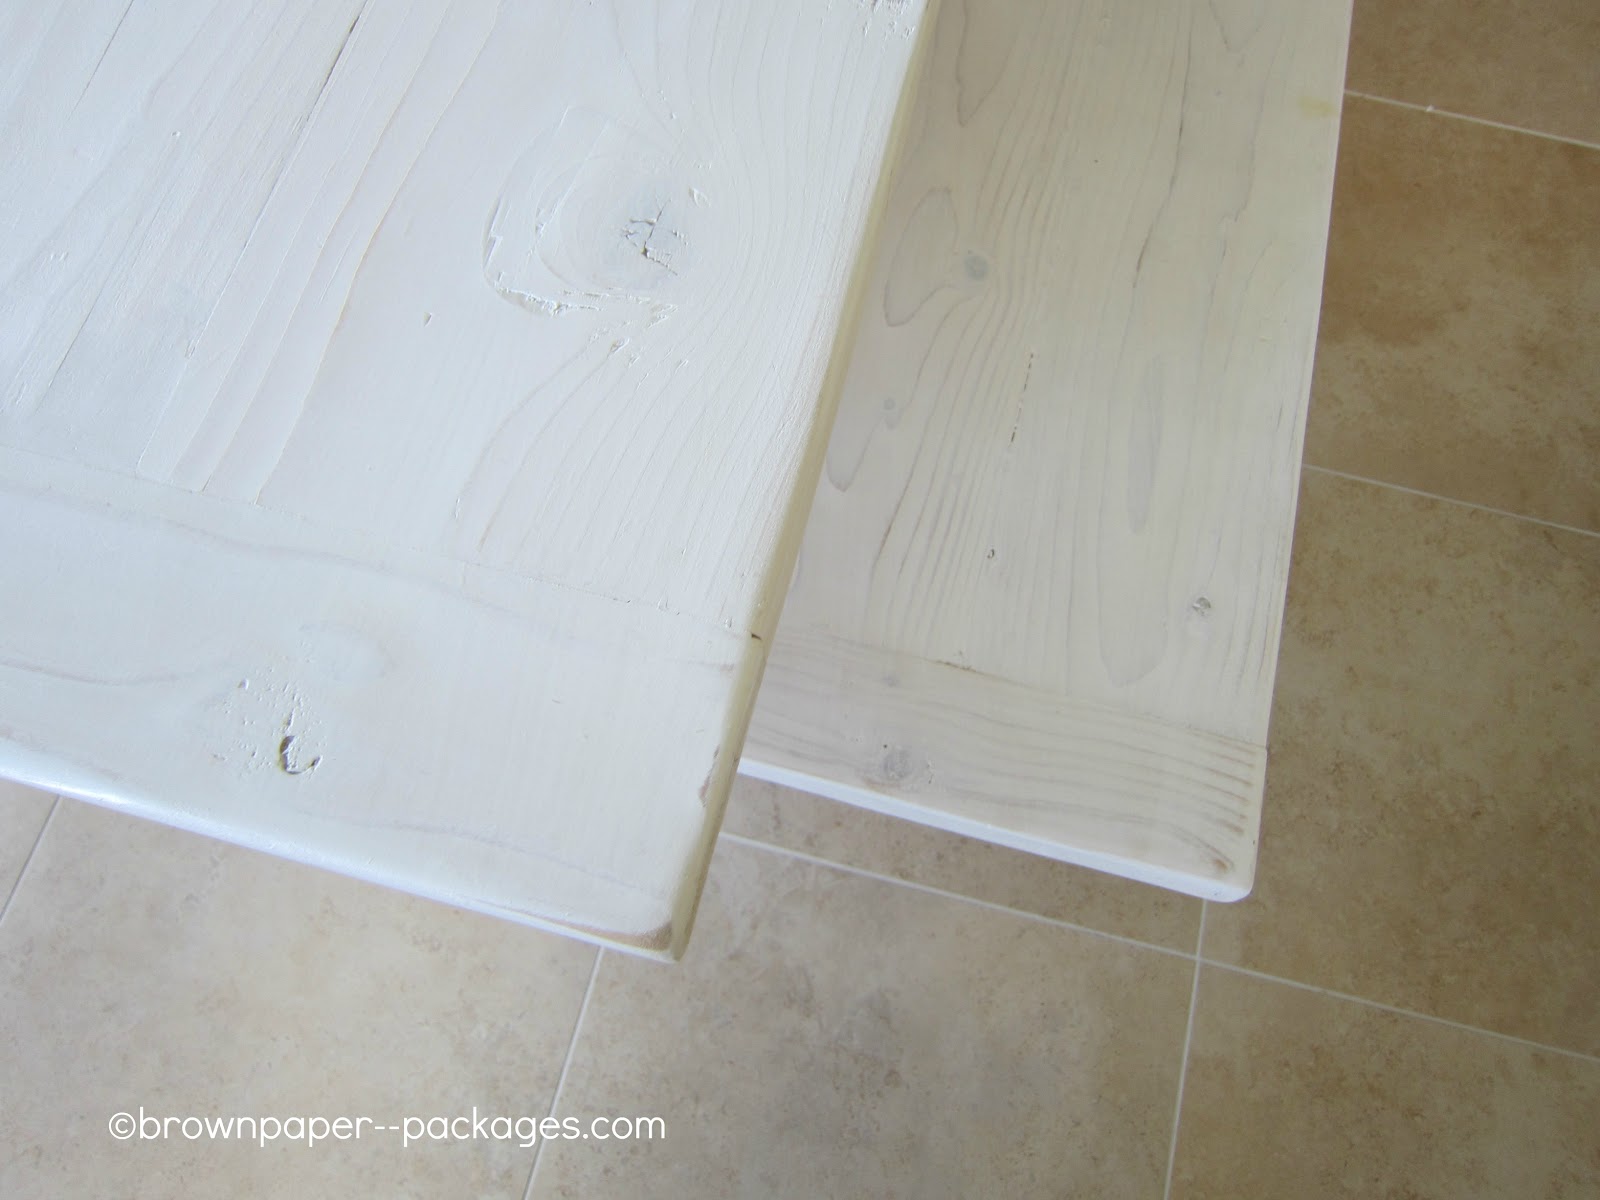
Whitewashing is so, SO easy, and gives wood a fresh, clean look. It would work on refinished or new furniture, decor (think planked signs…totally cute), headboards…the sky is the limit! You will need to use bare wood–not on laminate/slick surfaces, It also works in a variety of spaces, and with different styles, making it very versatile. I also love that you can see the grain of the woos
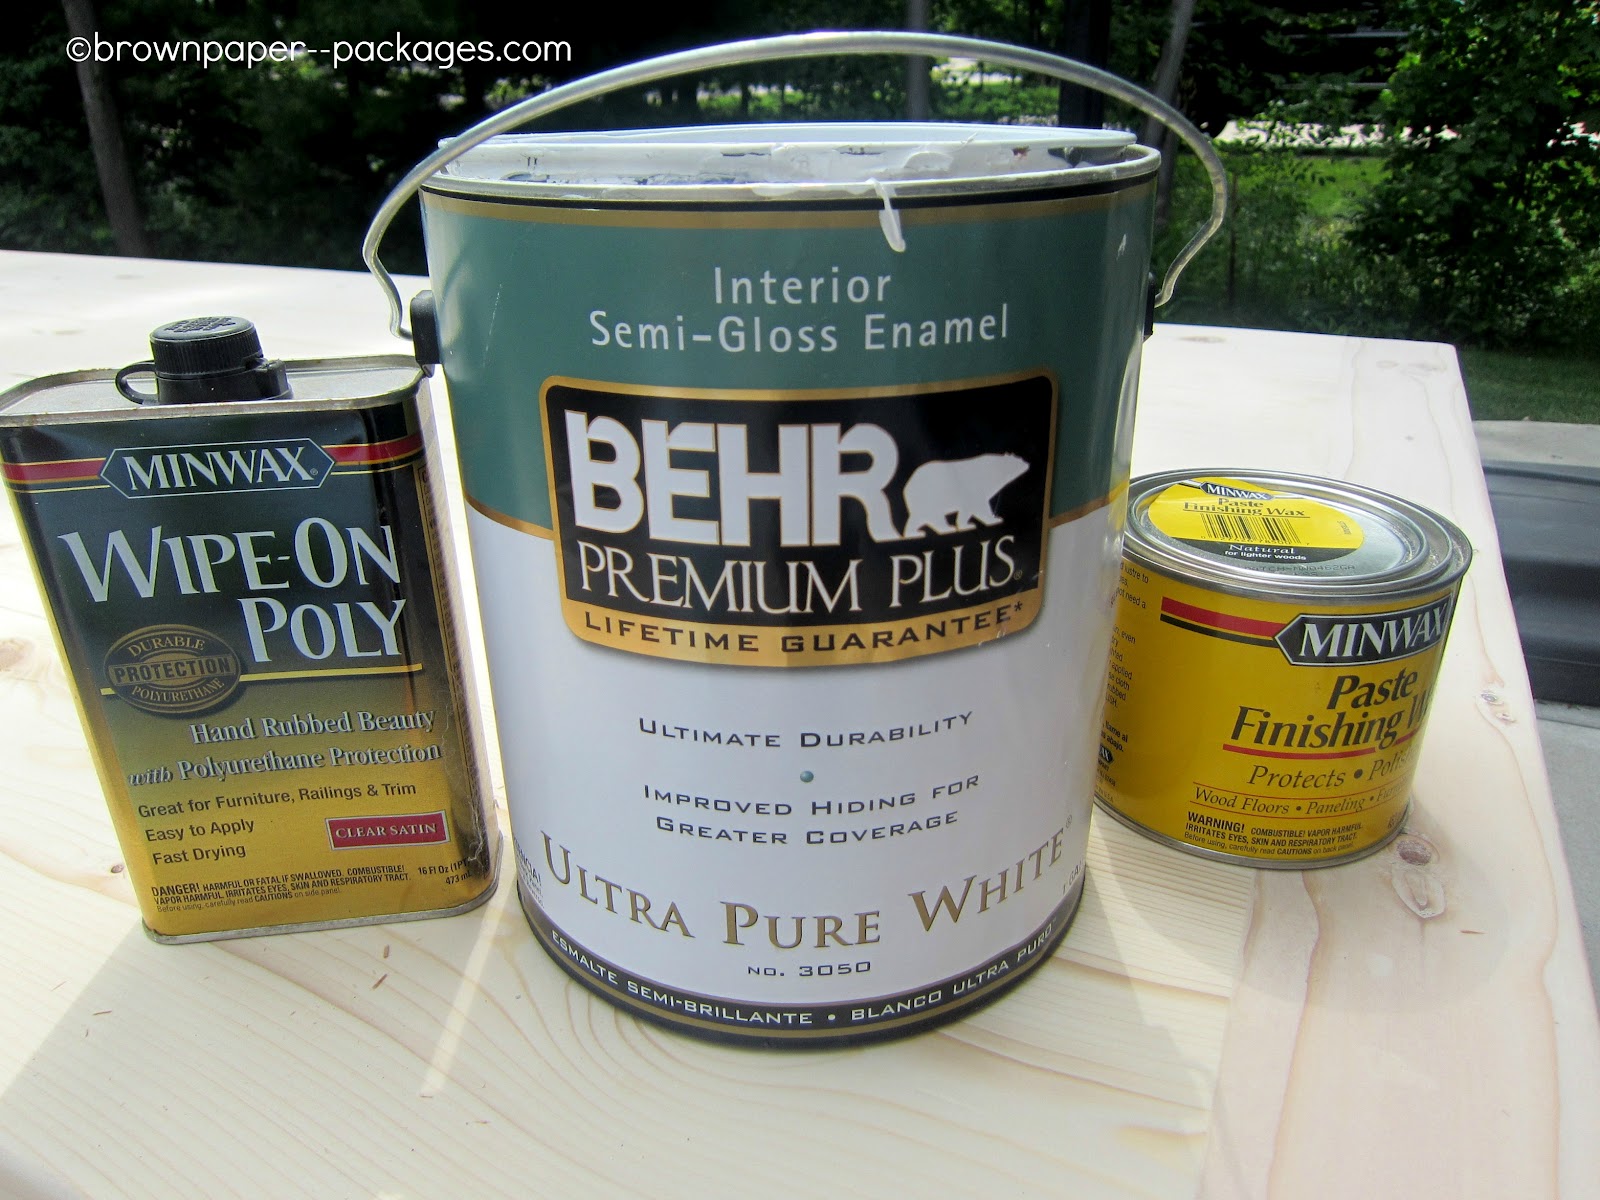
Okay, here are the supplies you need:
*white paint
*water
*bristle paintbrush and foam brush
*wipe on poly and lint-free rag
*power sander
*finishing wax

There are a lot of suggestions and different opinions on the ratio of paint to water for whitewashing. I think it depends on how “whitewashed” you want it to look–how thick or thin you want the white paint to be. I went with a ratio of 2 parts water to 1 part paint, and I thought it was perfect. I could still see the grain of the wood, which I wanted, and it wasn’t too runny, or too white.
Step 1: Sand your surface, then wipe it with a damp cloth and make sure it’s dust-free. Mix the paint and water, using a 2:1 ratio (2 parts water 1 part paint). I mixed mine in the paint can itself, because there was only about 1/3 of the can left, and it was easy to mix it in there. You could also measure it out in a paint bucket, or other paint-safe container. ***I WOULD SUGGEST TRYING IT ON A PIECE OF SCRAP WOOD TO MAKE SURE YOU LIKE IT FIRST!!!! You can always add more paint if you like.
Step 2: I used two different brushes, and I liked them both for different reasons. I liked the regular, bristle paintbrush for the majority of the painting–it went on easier, not too heavy, and went pretty fast. I liked the foam brush for the corners, and small areas where I couldn’t get the the bristles to cover. The foam brush will soak up more paint, so it looks heavier, so be aware of that if you are switching back and forth. Start lightly–you can always add more if you need to.
*If you are doing this for a decoration piece, like a planked wood sign, you could stop at this point–the poly and wax are optional. If you’re doing furniture, or anything where the surface will get use or wear, you’ll want to complete the next couple of steps.
Step 3: Once your paint is completely dry, you can do a light finish sanding, use a very fine grit sandpaper. Make sure to wipe off any excess dust with a lint-free rag. Add a coat of poly according to the directions on the can, then a second coat. Let dry completely.
Step 4: For the last step, I added a finishing wax by Minwax. Since it was to be our kitchen table, I wanted to make sure that I could easily wash it, clean it, and provide a barrier for food and liquids that would get on it. The wax also makes the surface very smooth, which I especially wanted–no splinters at the table, lol! I followed the directions on the can, using cheesecloth to apply a very small amount over the table and benches, letting it try for 15 minutes, then buffing it out. (The timing is important!) Make sure to read and follow the directions on your can—it definitely makes a difference. It makes the surface so lovely and smooth–the perfect finish for our new kitchen table! WARNING: Make sure you love it before you add the wax, because once it’s on, it’s on!


![]()
