DIY Photo Pencil Pouch
This post is sponsored by Adobe Photoshop Elements. All opinions are 100% mine.
I love pencil pouches. They are good for so many things, not just pencils! My kids love them for school, of course, but I love to fill them with things like makeup and lotion, headphones and chargers, or first aid supplies when I’m on the go with my kids. I also like having one for each of my kids for travel bags, with crayons, small notebooks, and other supplies.
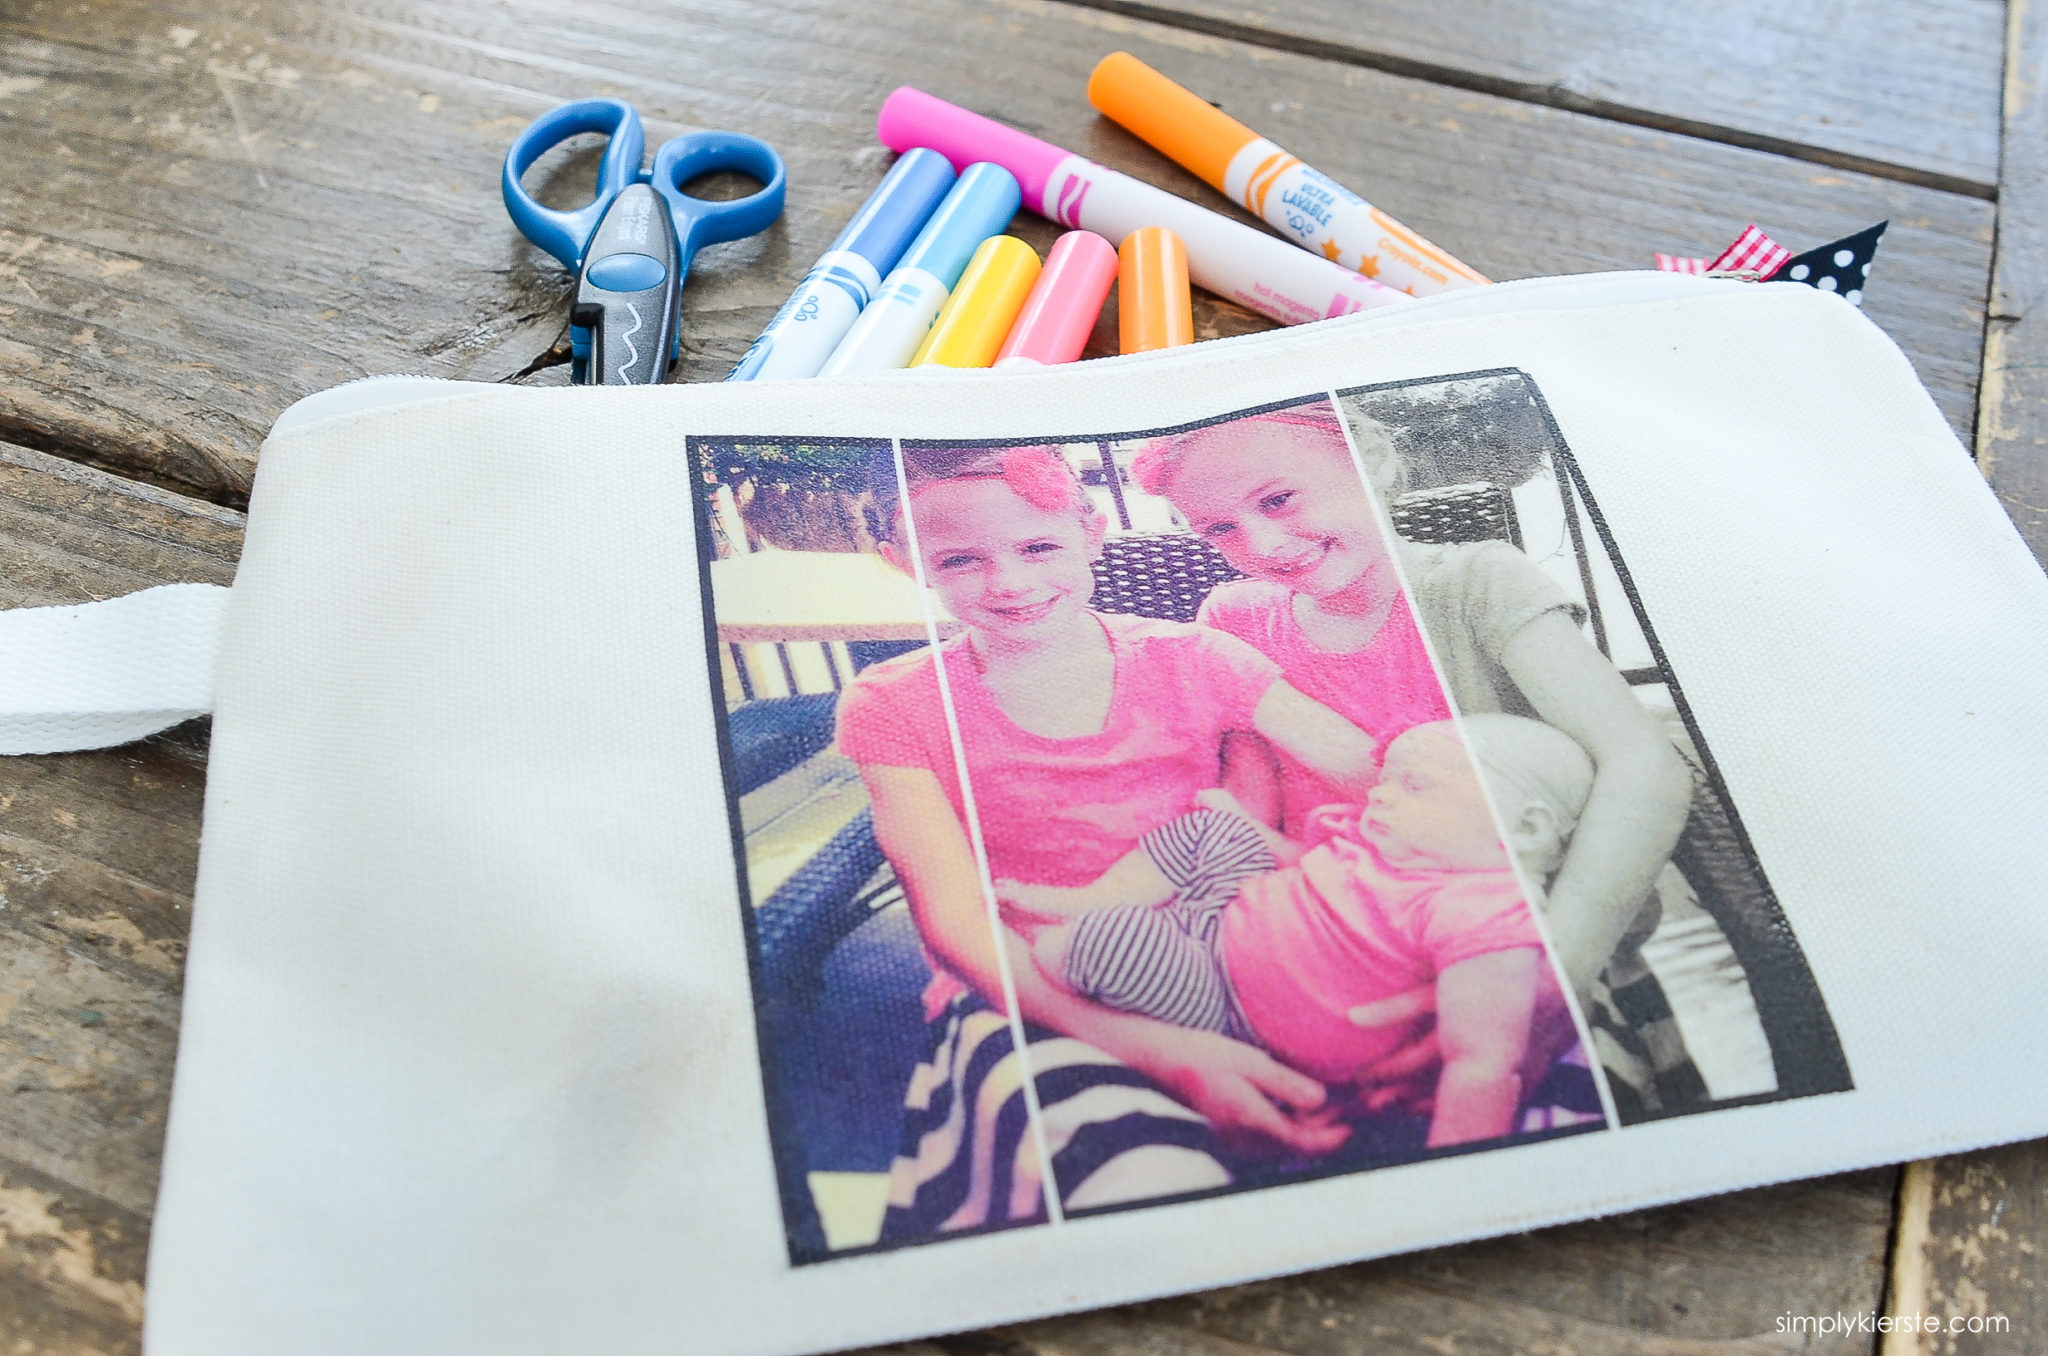
I found some really adorable canvas pencil pouches, and thought it would be so fun to add pictures of my kids to the front!
I just love how this one turned out, so I’m going to make one for my boys with their football or soccer pictures, and my girls with their dance or volleyball pictures. Best of all, this darling pencil pouch can be made in less than 30 minutes–so quick and easy!
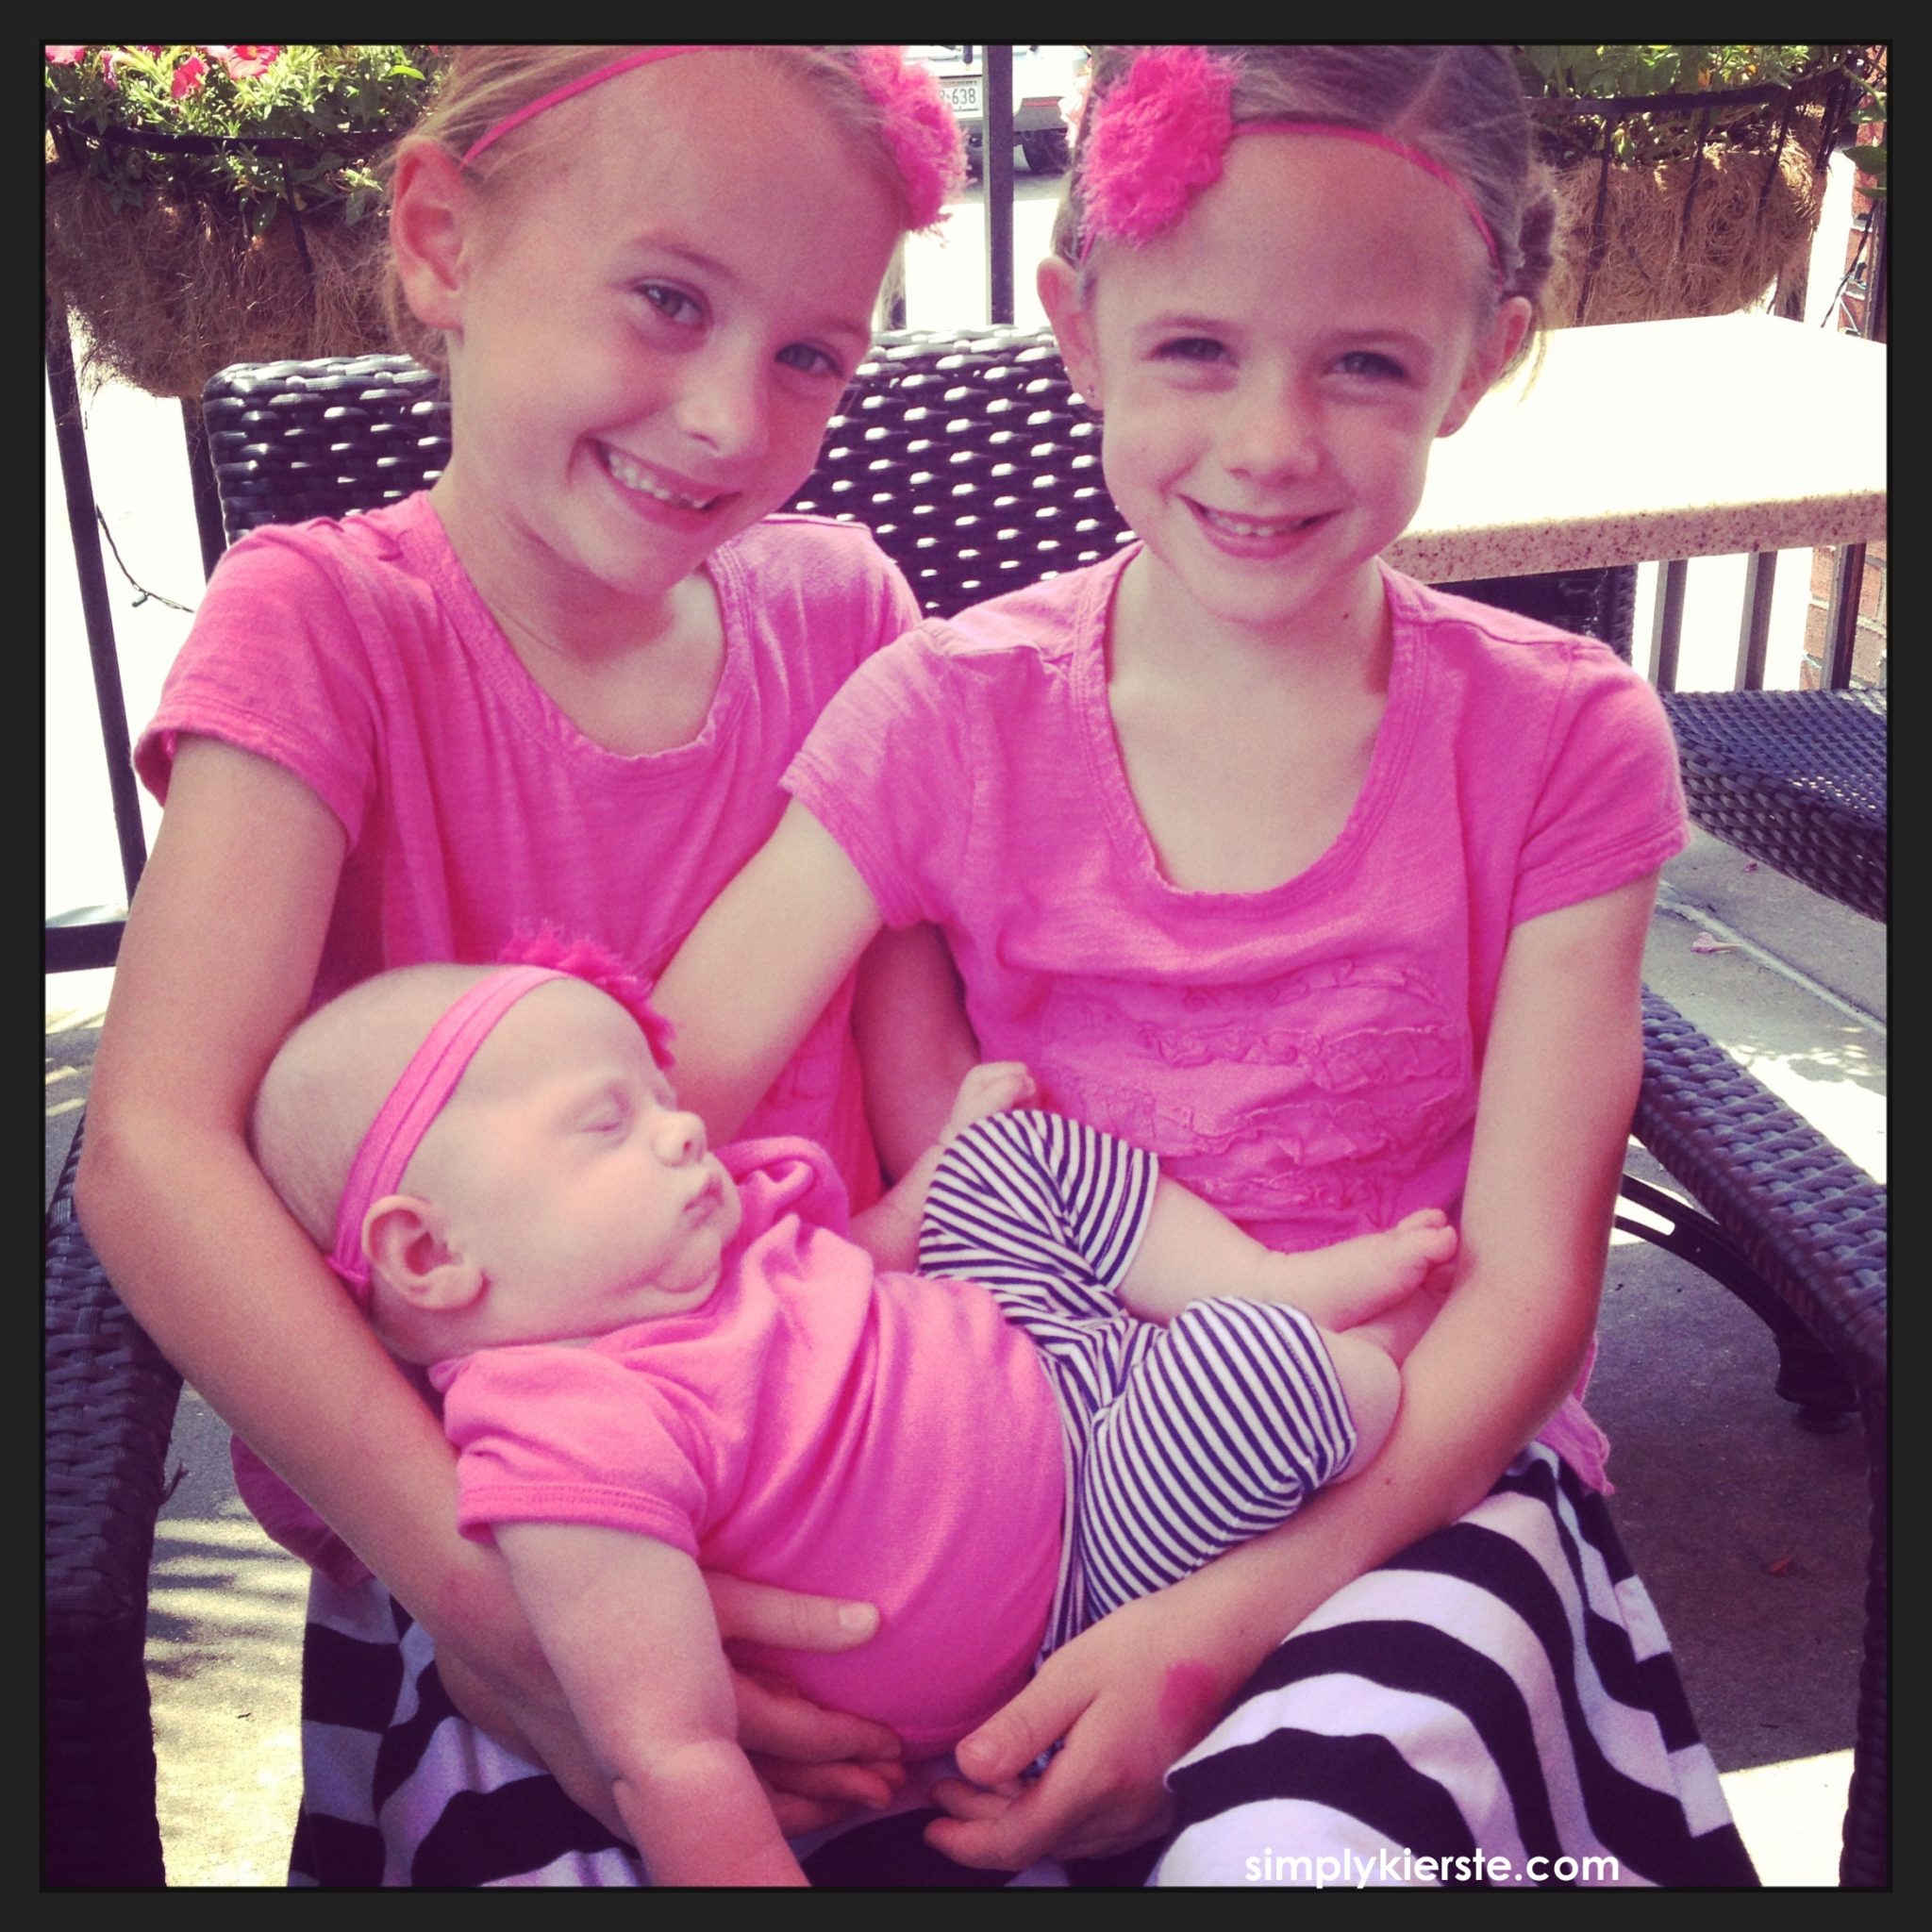
What makes this project so unique is how I edited the pictures. I used one of my new favorite features in Adobe Photoshop Elements 15, called Effects Collage. It takes your picture and divides it into sections (you choose how many), then adds a different filter to each section. The end result is so fun and different than the usual, which is what I was looking for. This picture is one of my favorite Instagram pictures, and I knew it would be perfect for this project. I absolutely love this picture of my three girls, and being able to put it on something I can look at all the time is the best!
BEFORE:
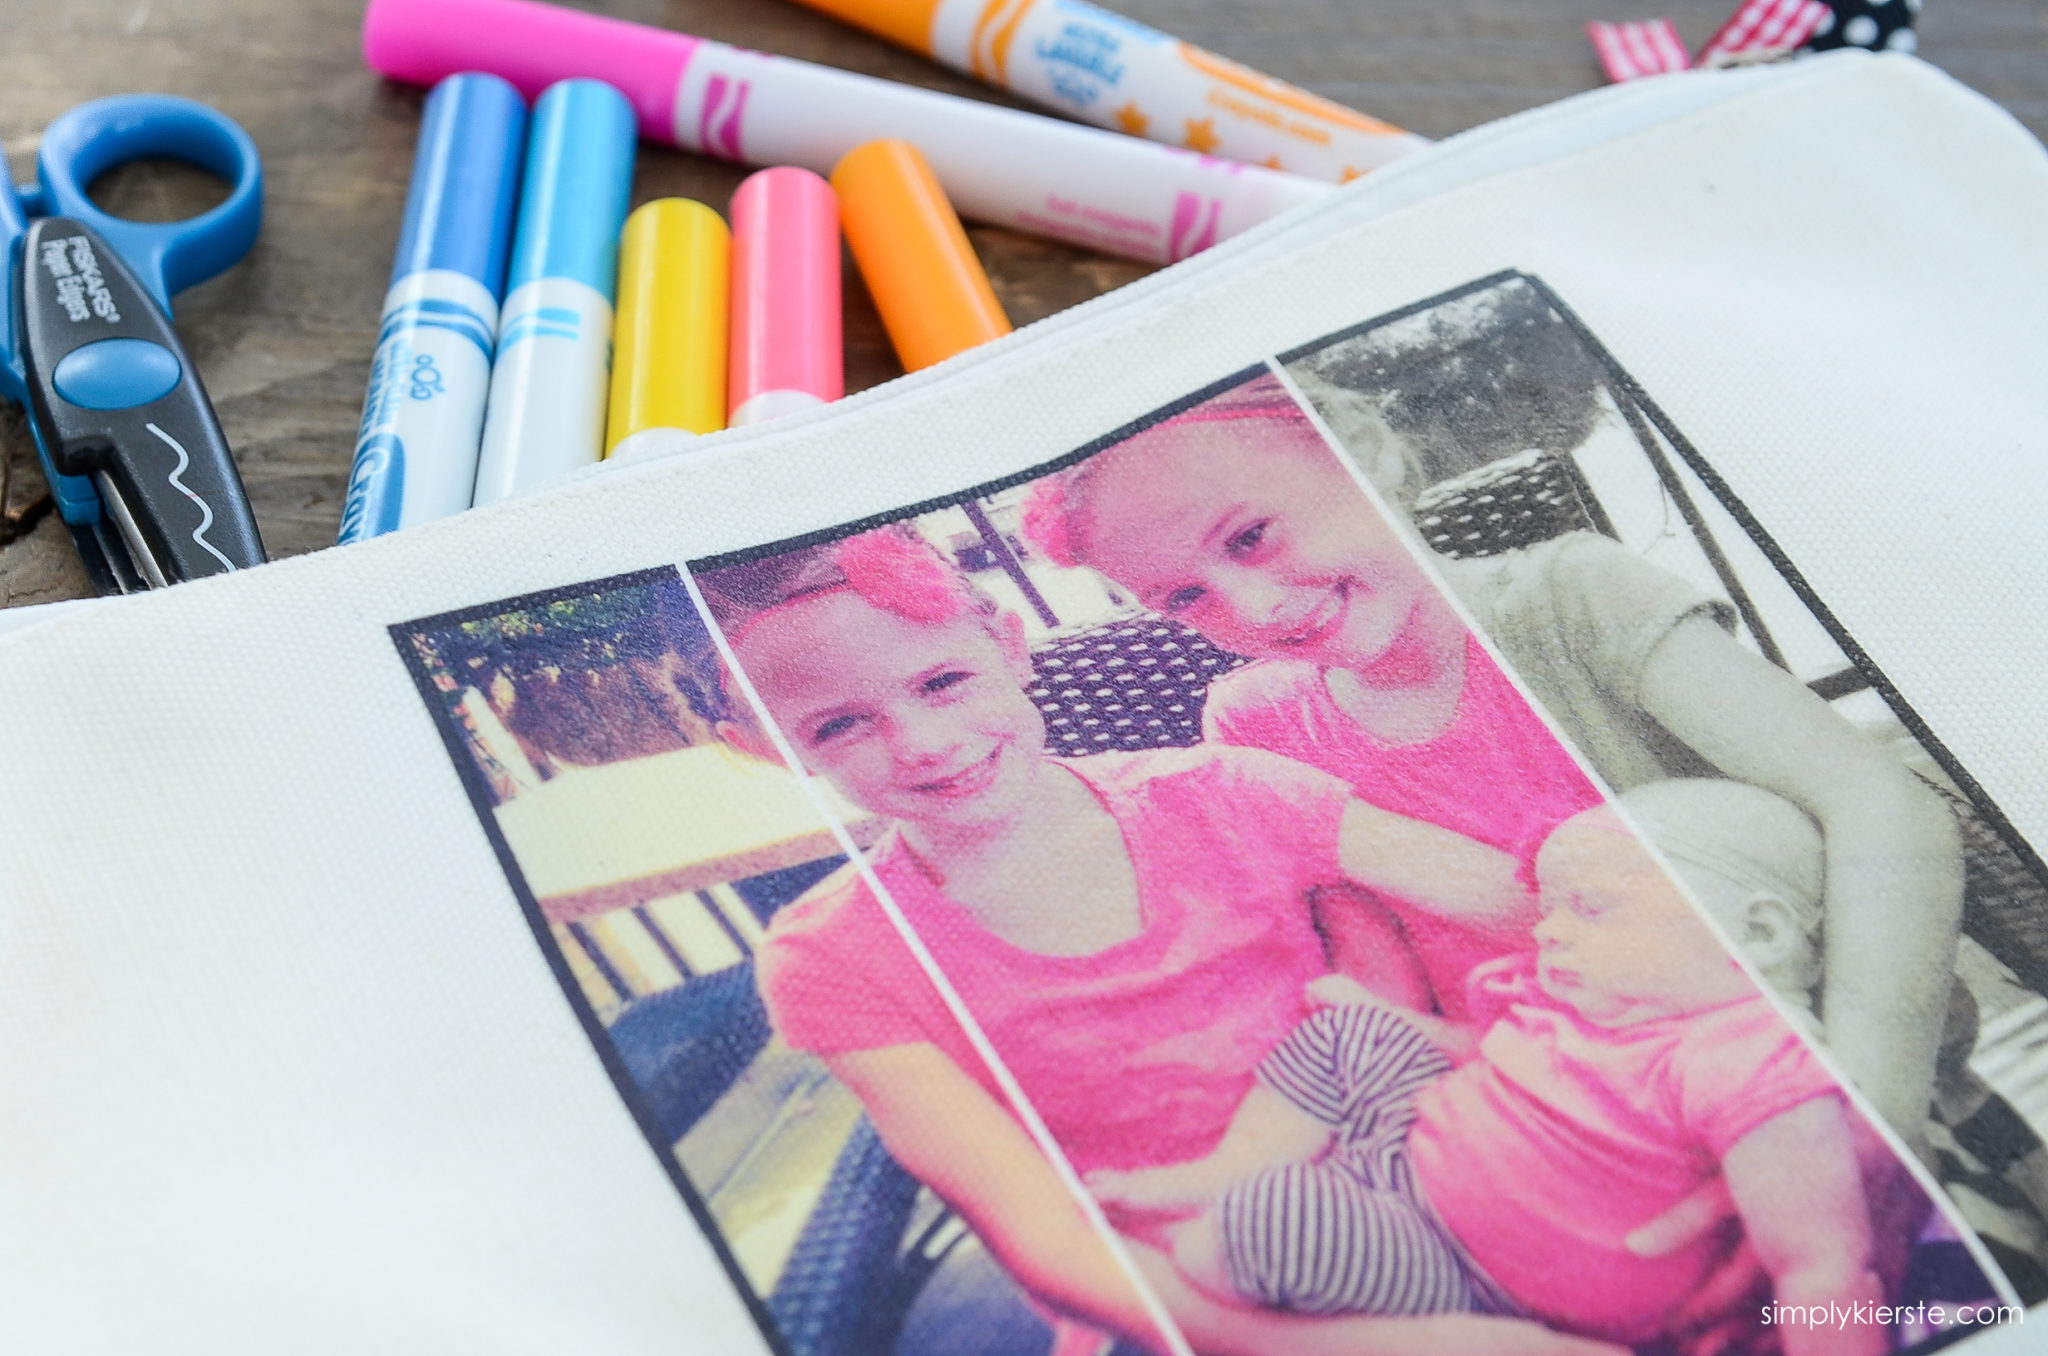
AFTER:
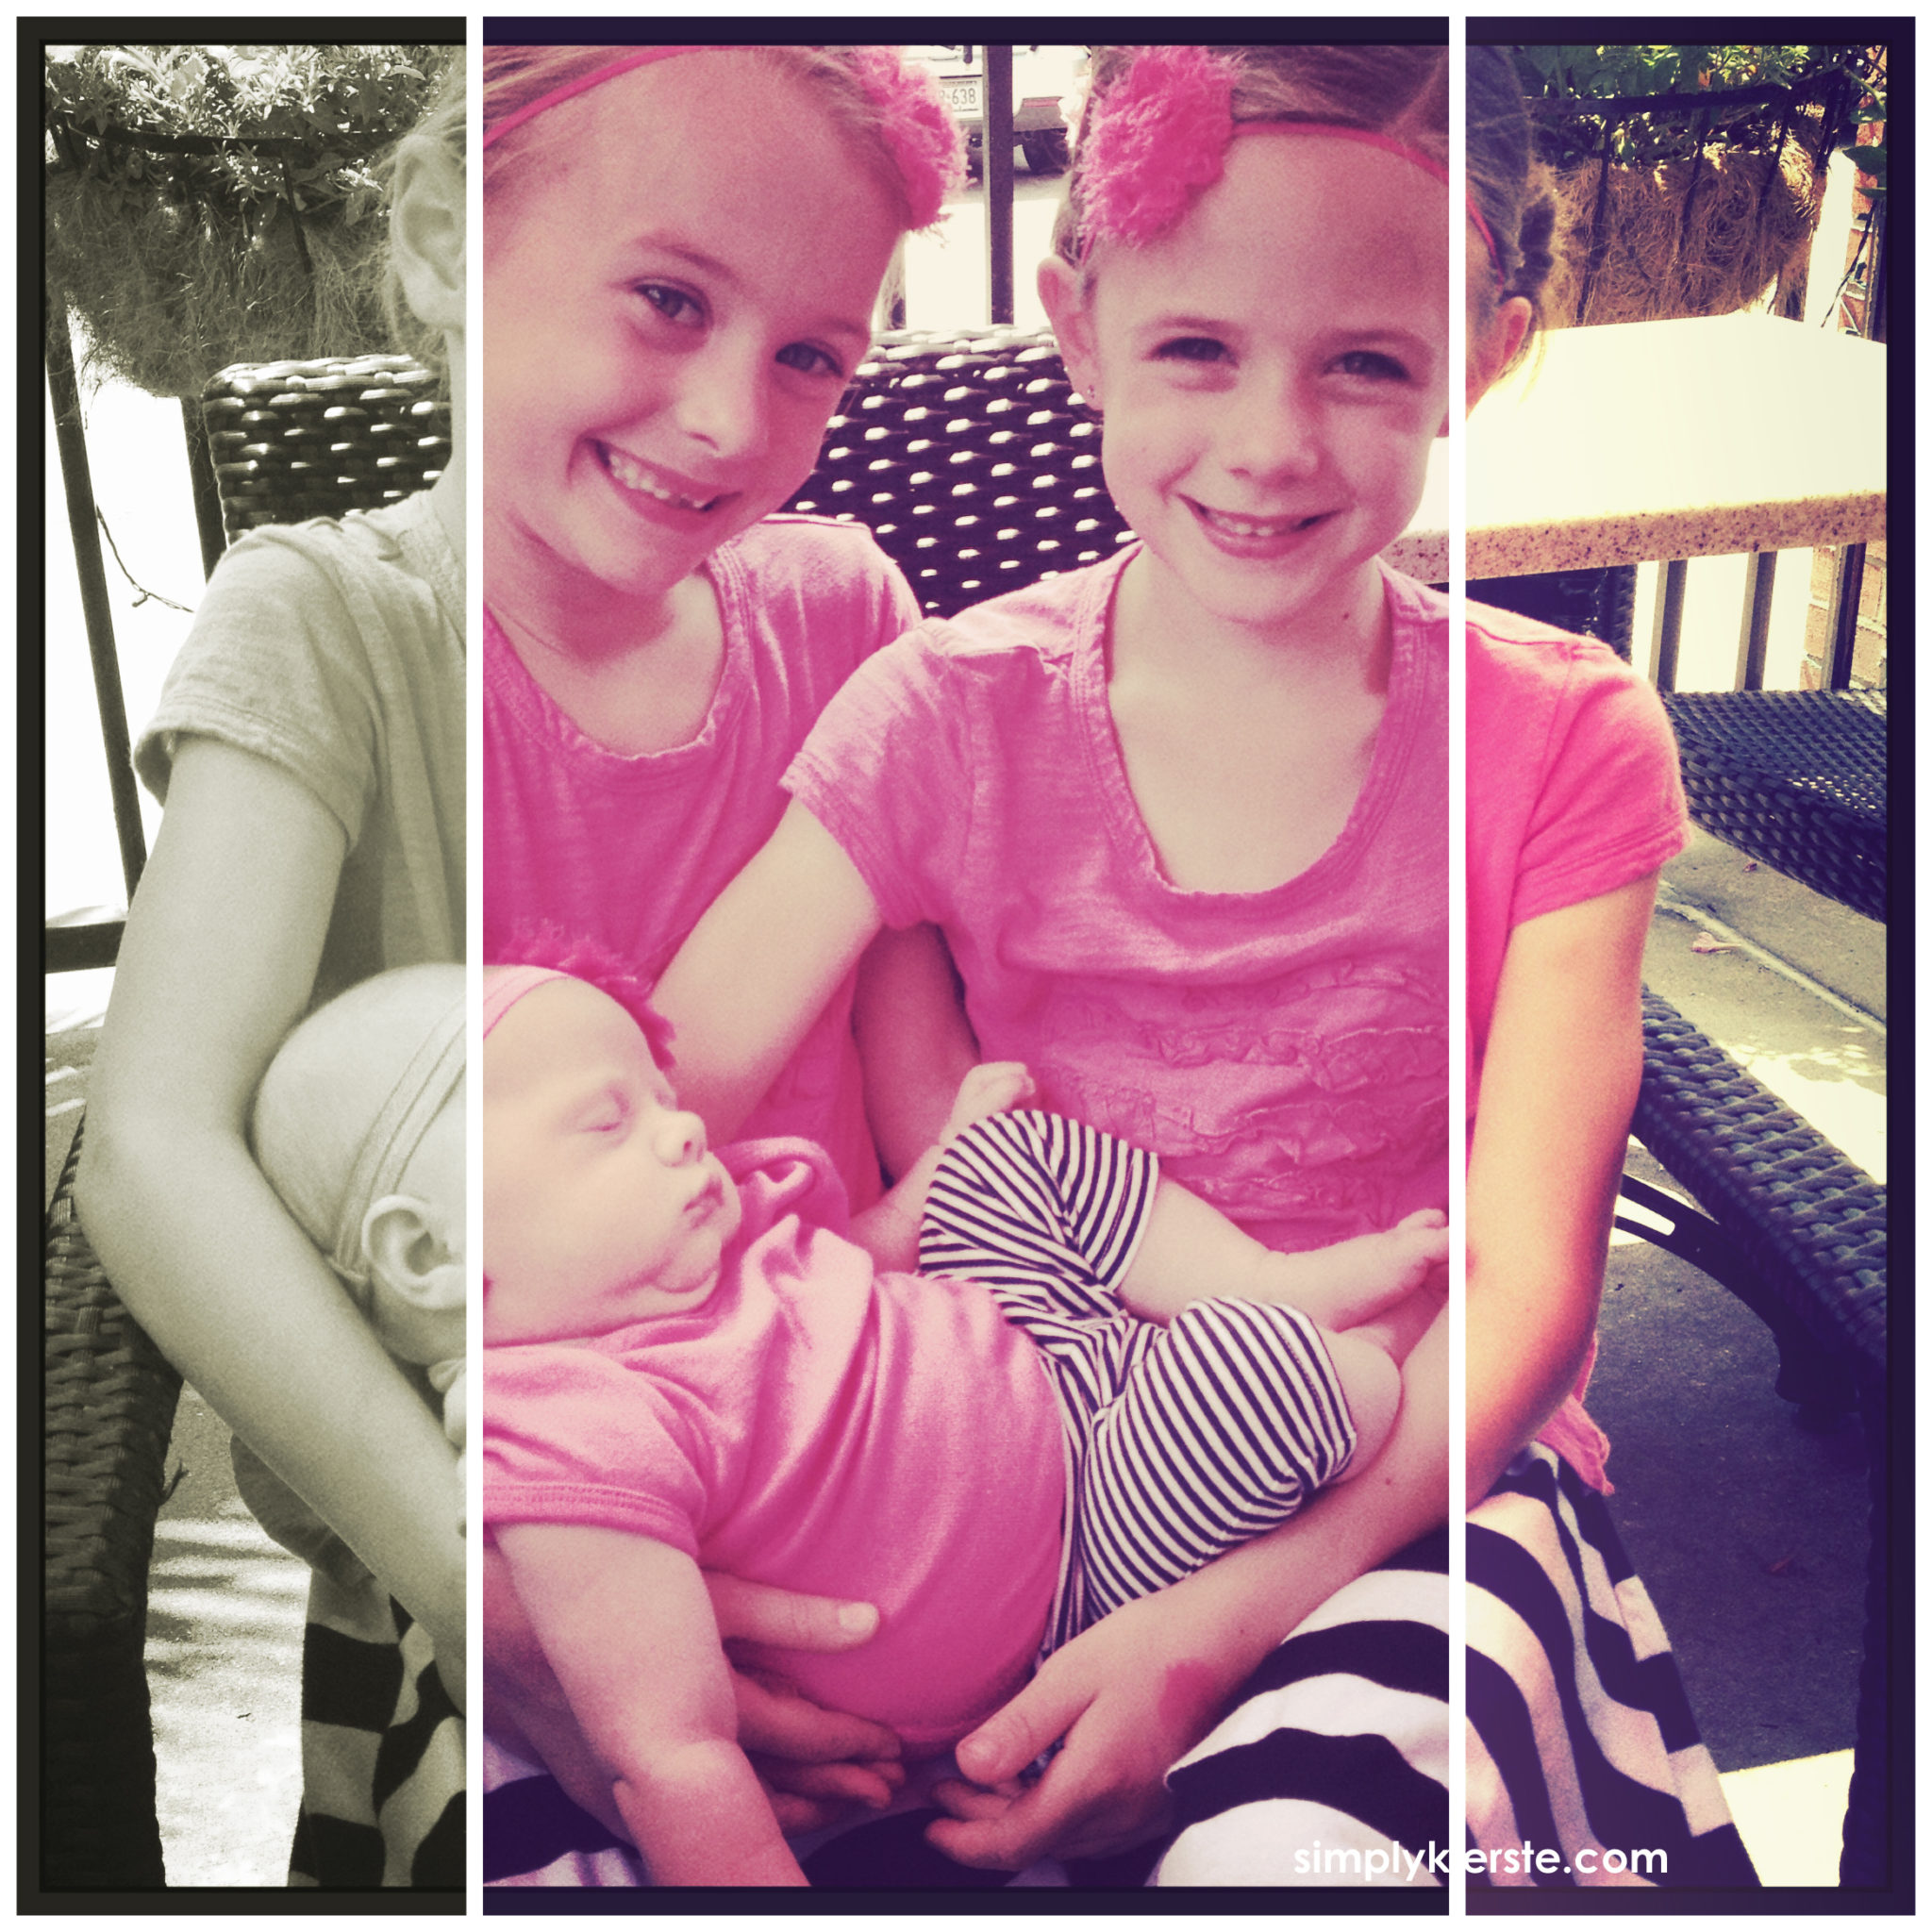
Isn’t that so cool? I love the mix of black & white and color. It only takes just a few clicks to do! Editing all my photos was the first step in this project; let me show you how easy it is…
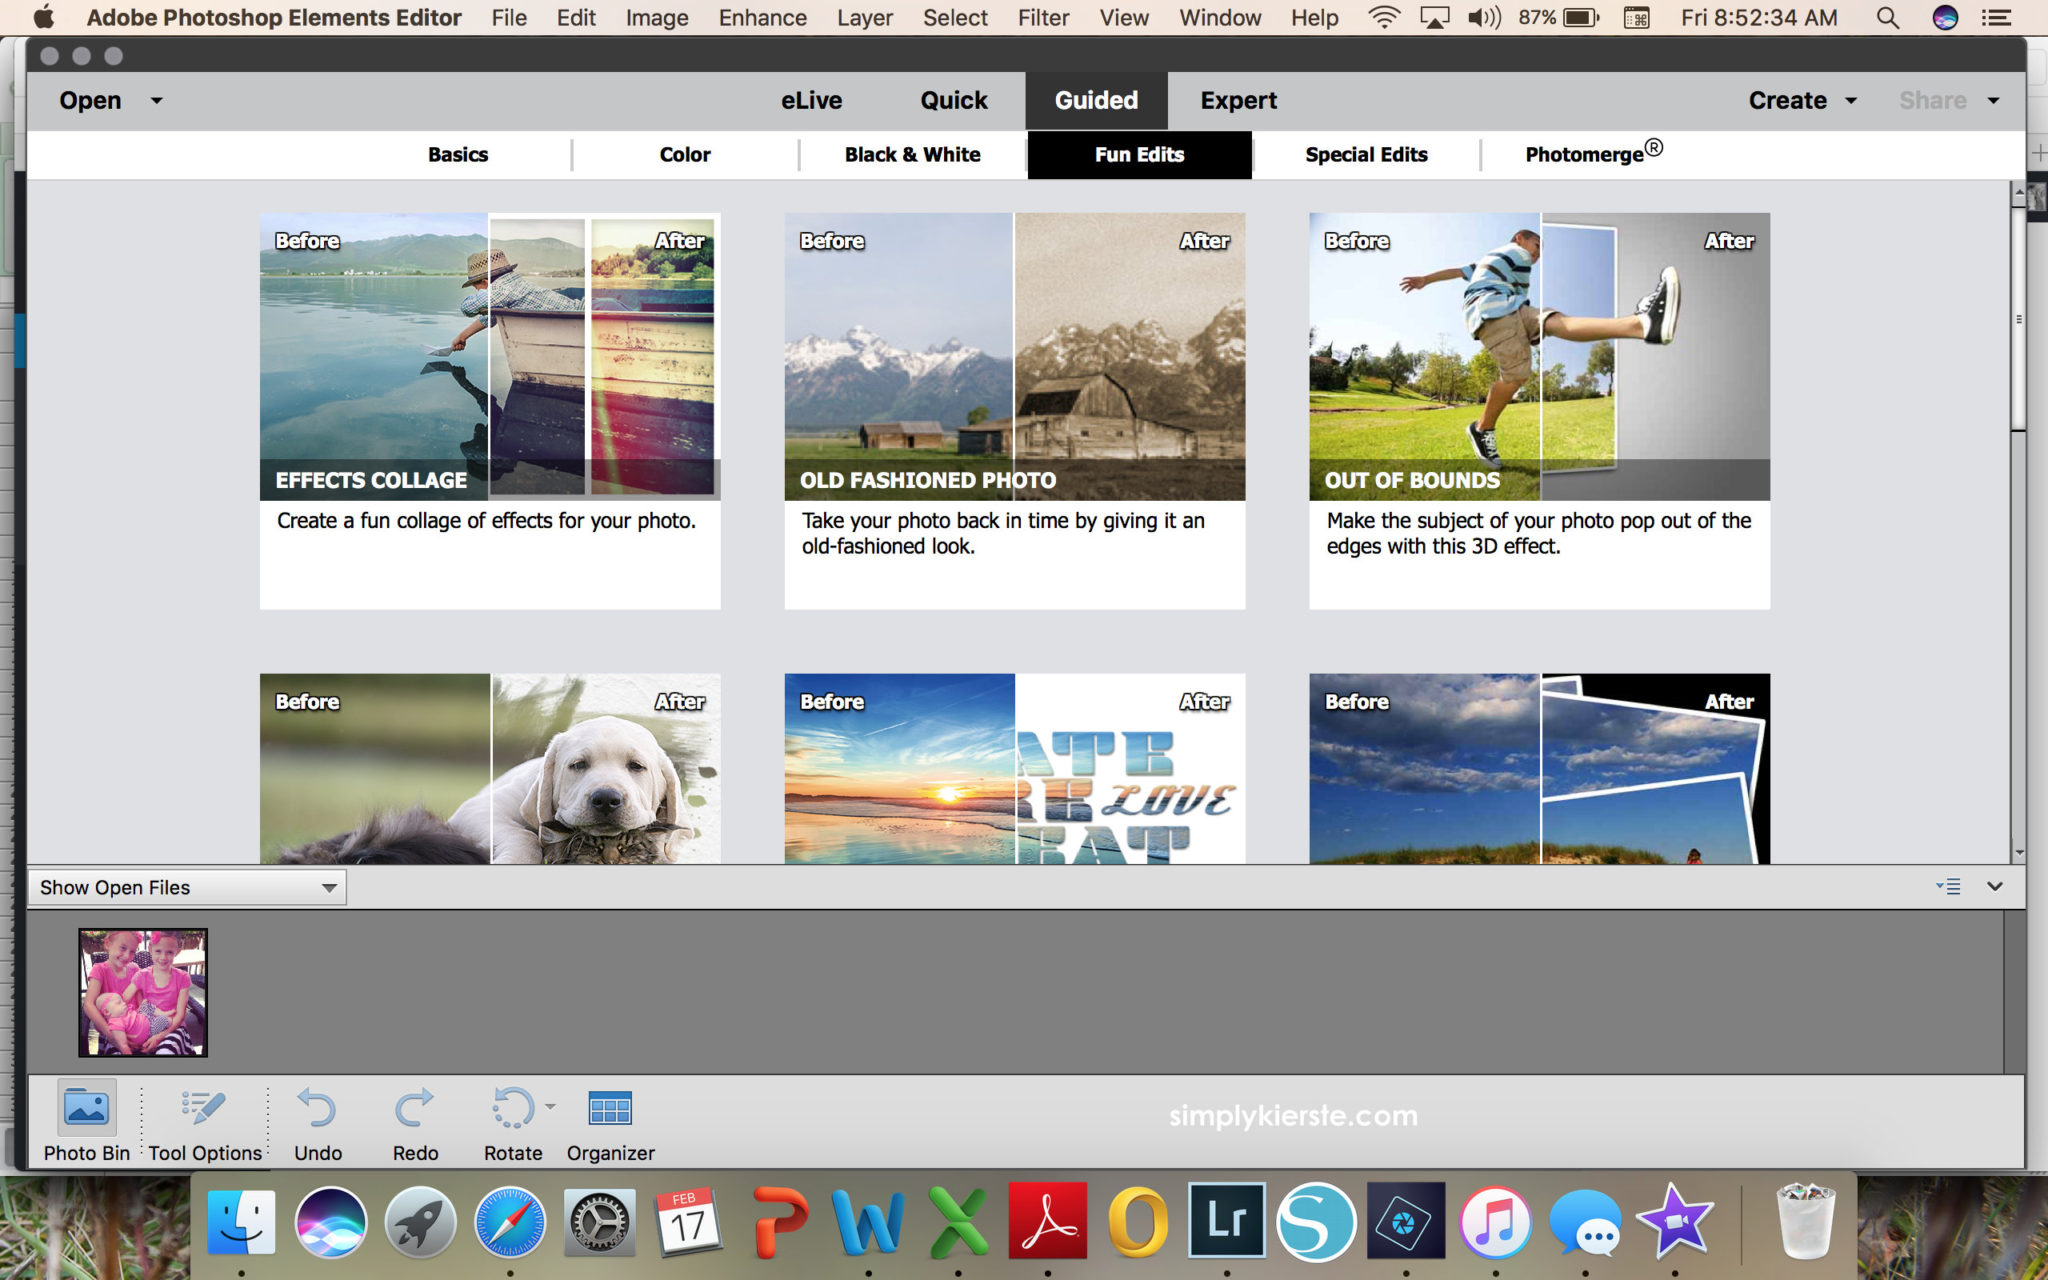
Open up a photo in Photoshop Elements, click on Guided > Fun Edits > Effects Collage.
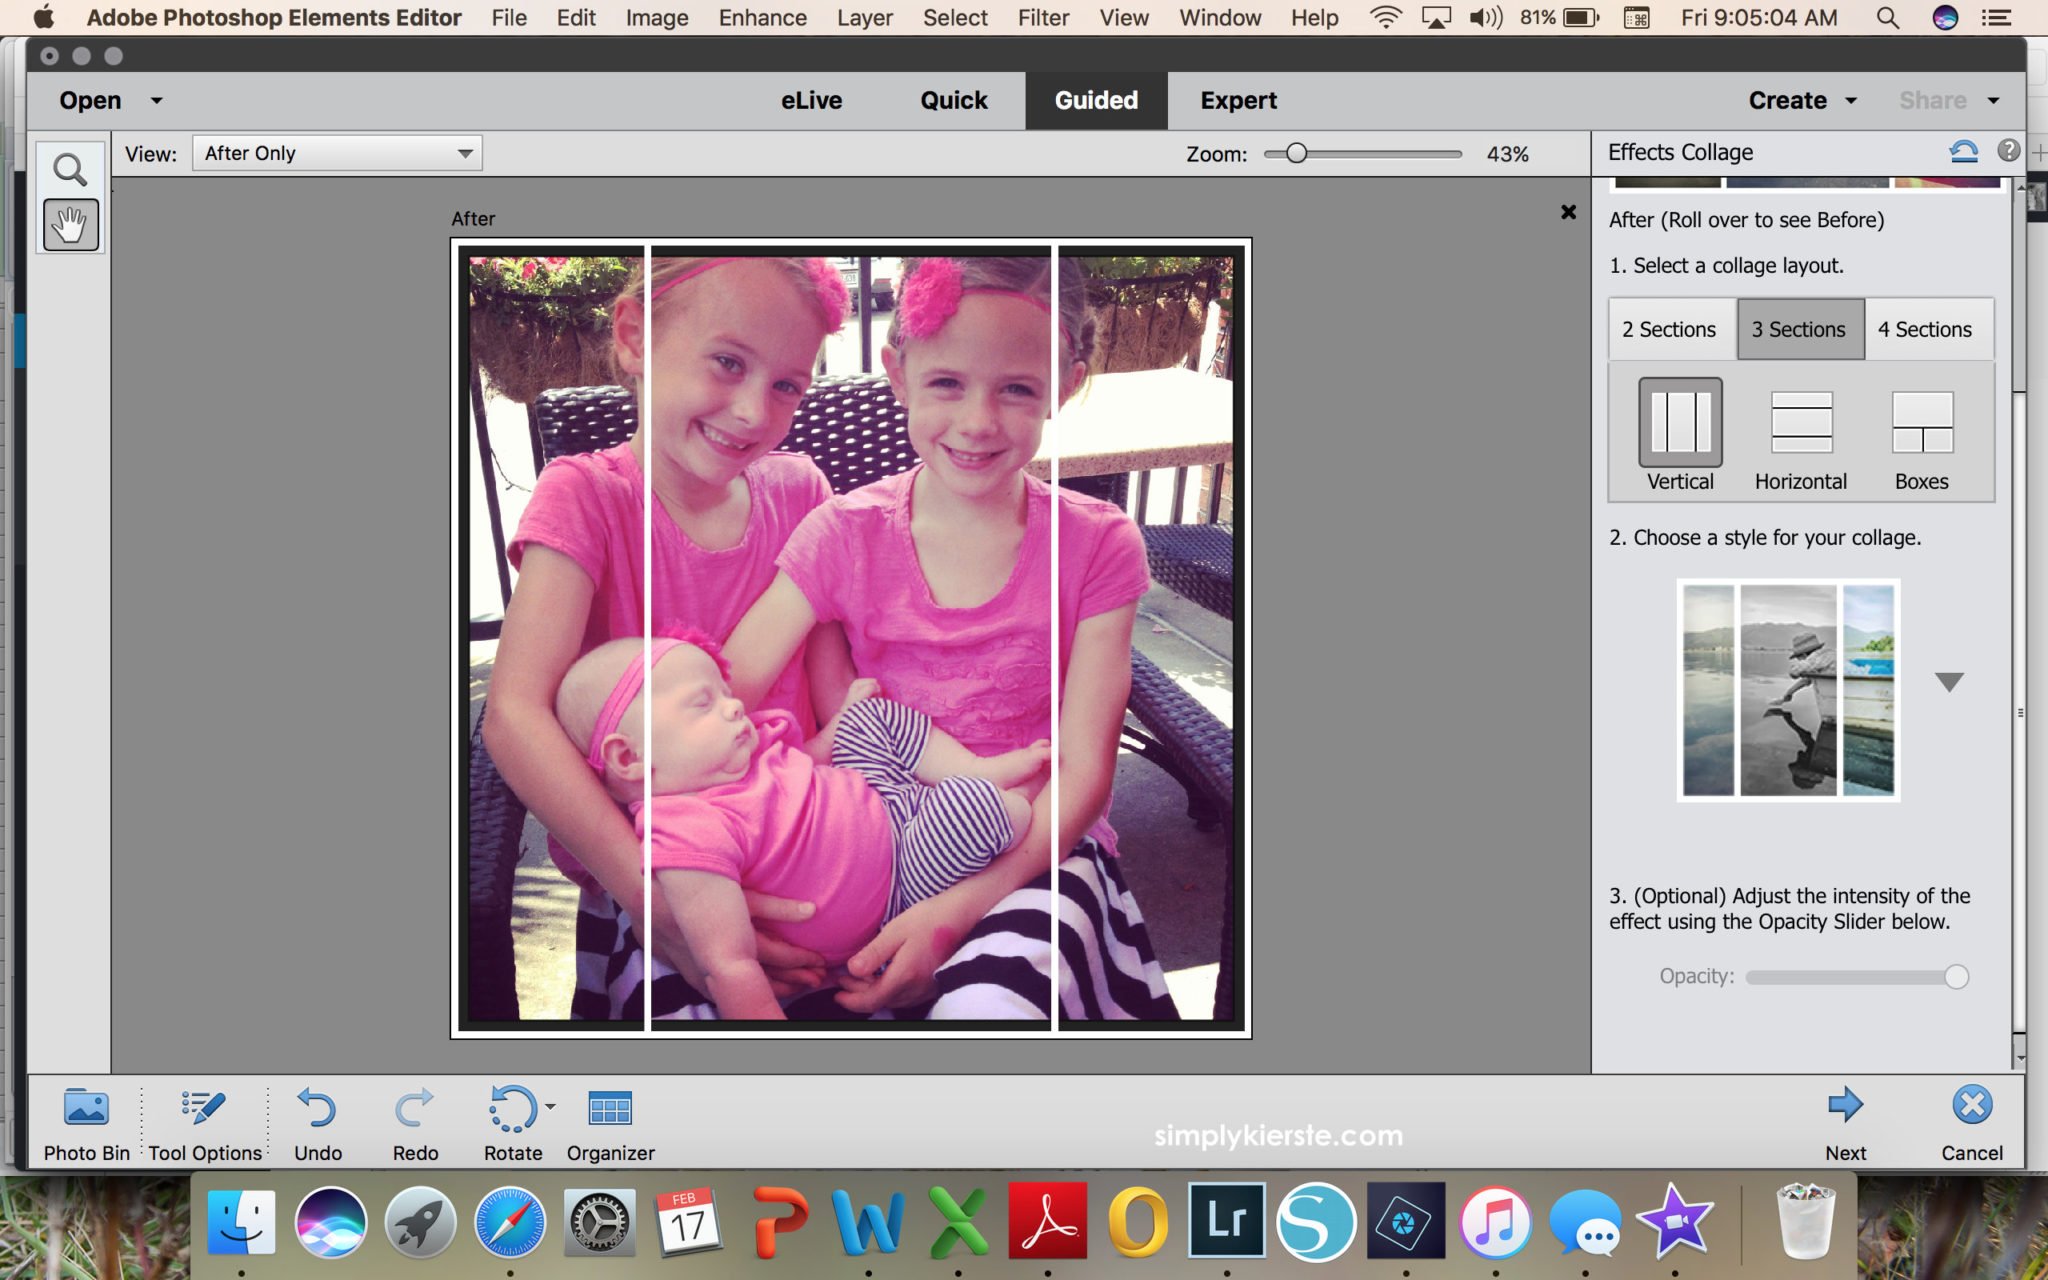
You get to select how many sections you want, and whether you want them to be vertical, horizontal, or boxes. I usually try a few different options, to see which one works best with my photo.
Once you’ve selected those options, you’ll choose a style for your collage. There are quite a few to choose from, all with different combinations of filters.
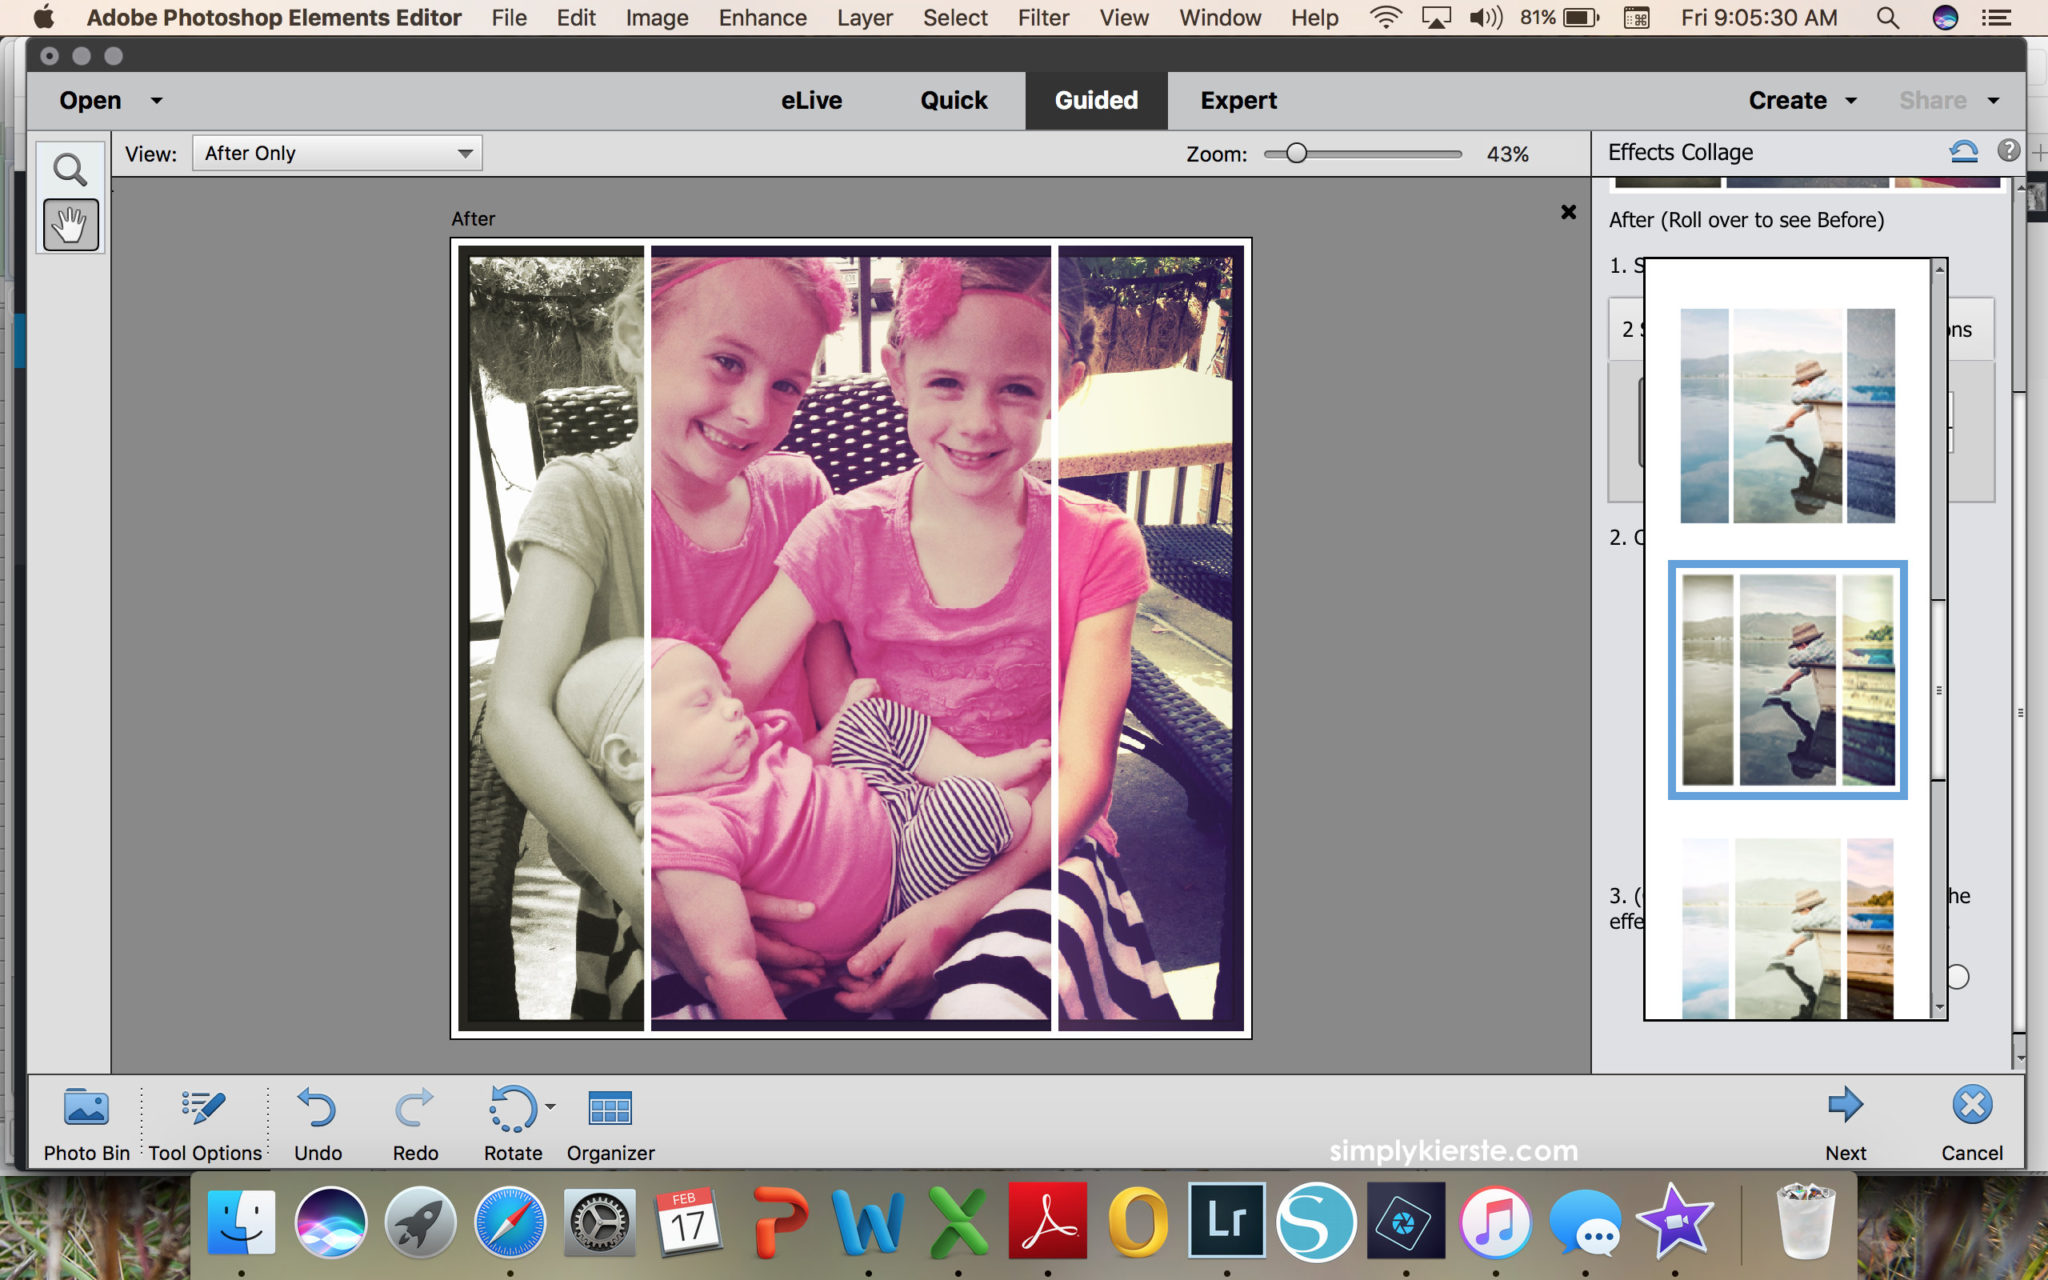
So fun, right?!
For this project, you may need to reverse your image before saving. After you print your photo on to the transfer paper, you’ll flip it over to iron it, meaning the image will be reversed when you iron it on. If you don’t reverse it first before printing, the photo will look backwards when ironed on. In some photos it won’t matter, but in others it will, so it’s worth just taking a look to see if it’s necessary. There’s a super easy way to do it! Click on Image (the top tool bar) > Rotate > Flip Horizontal. This will make a mirror image of your photo, so when you iron it on, it will look right!

At this point, you’re finished and ready to save. If you want to resize it first, then all you need to do is click the Expert tab, then Image > Resize > Image Size. Input your desired dimensions, then File > Save or > Save As. I don’t always need to resize first, but for this project I did, since I needed the photo to fit on my pencil pouch.
Once your editing is finished, you’re ready for the rest of the project. Here’s what you’ll need to finish your pencil pouch, and how to do it!
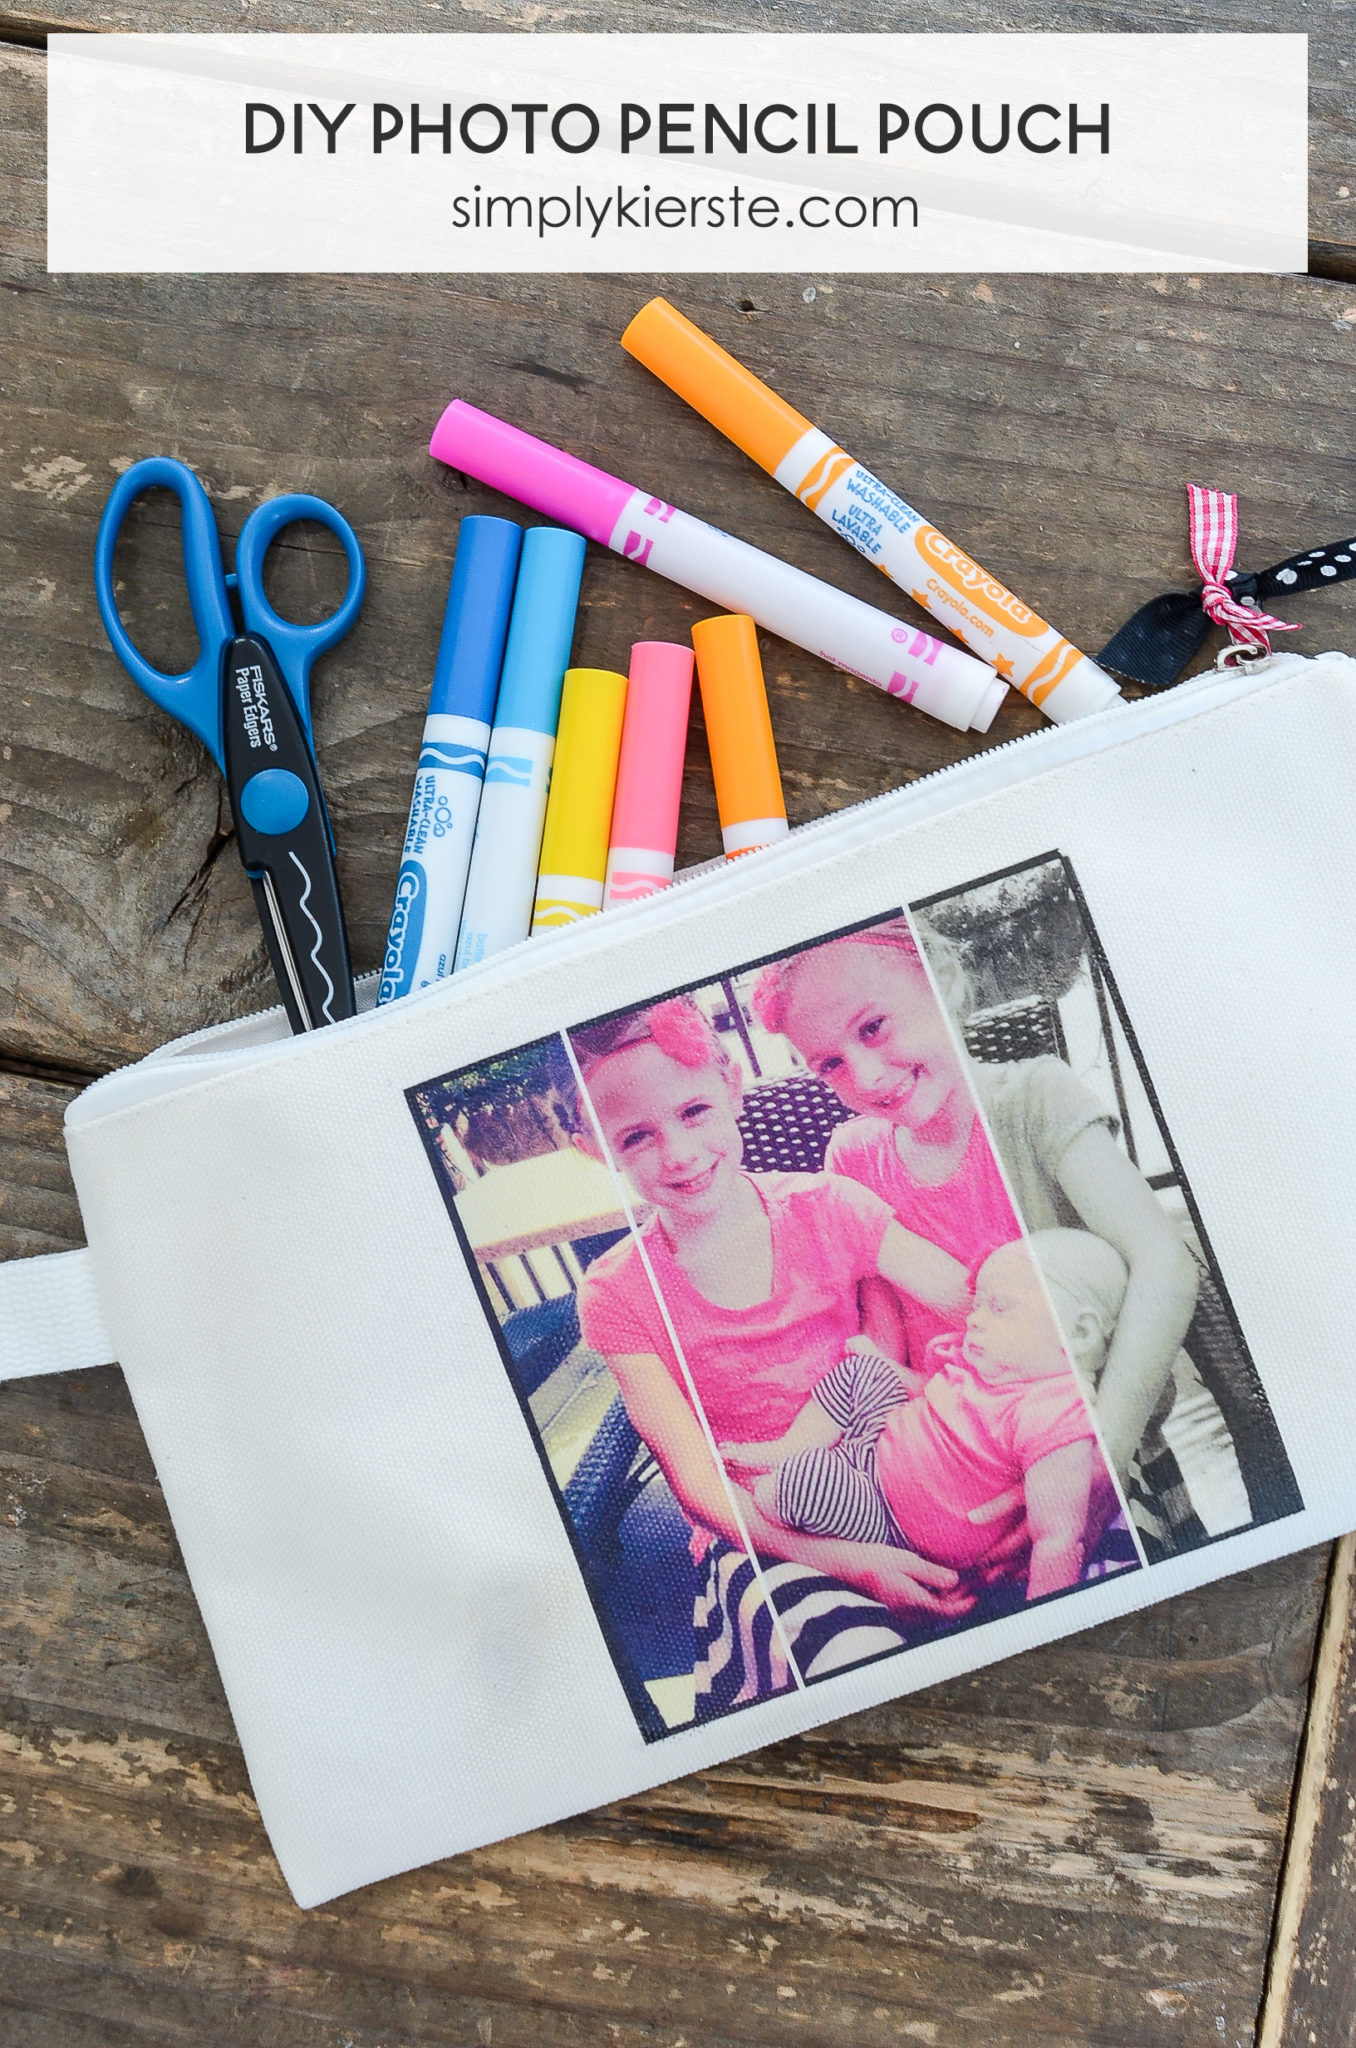
DIY PHOTO PENCIL POUCH
SUPPLIES:
-canvas pencil pouch
-photo transfer paper
-iron
-Adobe Photoshop Elements 15 free 30-day trial
DIRECTIONS:
Edit your photo in Adobe Photoshop Elements, insert it into Word and print onto the photo transfer paper. Make you’ve reversed your image if necessary!
Follow the directions for the transfer paper you’re using, including how to correctly iron on your photo.