• Home
  • Blog
  • Project Gallery
  • About Me
    • About Old Salt Farm
    • Contact Info
  • Terms of Service & Privacy Policy
  • My Book

Simply Kierste Design Co.

Simple Farmhouse Style + DIY

  • Old Salt Farm
  • DIY
    • DIY Home Decor
    • Paint & Stain Projects
    • Re-purposed Projects
    • Woodworking
    • Outdoor Projects
  • For the Home
    • Farmhouse Style
    • Old Salt Farm
    • Home Decor & Styling
    • Cleaning
    • Organization
    • Entertaining
    • Crafts
      • Printables
        • Fonts
      • Silhouette
      • All Crafts
      • Kids’ Crafts
  • Holidays
    • 4th of July
    • Back to School
    • Christmas
    • Easter
    • Fall
    • Halloween
    • New Year’s Eve
    • Spring
    • St. Patrick’s Day
    • Summer
    • Thanksgiving
    • Valentine’s Day
    • Winter
  • Recipes
  • Family Life
    • Kids’ Ideas
  • Gift Ideas
    • Birthdays
    • Father’s Day
    • Mother’s Day
    • Teachers
    • Thank you
    • Thinking of You
    • Weddings
    • Babies
  • Lifestyle
    • Travel

Farmhouse Style Picnic Table

07/15/2015

The last picnic table we had cost $10.  We had just moved into our first house, while I was at the township office working on paperwork, I saw a pile of picnic tables outside. They happened to be old tables from the parks in our township, and they were selling them cheap to make room for brand new tables.  I dug through the stack and chose the best of the bunch, and after refinishing it several times over the years, it lasted us until we made this last move.

I had plans to make another one this spring, and then my cute hubby surprised me by making one when I was out-of-town a couple months ago.   We’ve always used our picnic table a lot, and with the good weather finally making an appearance here in upstate NY, I was very happy! I had to wait about 6 weeks for the pretreated lumber to finally dry out in order to finish it, but it’s finally done, and I love love it!
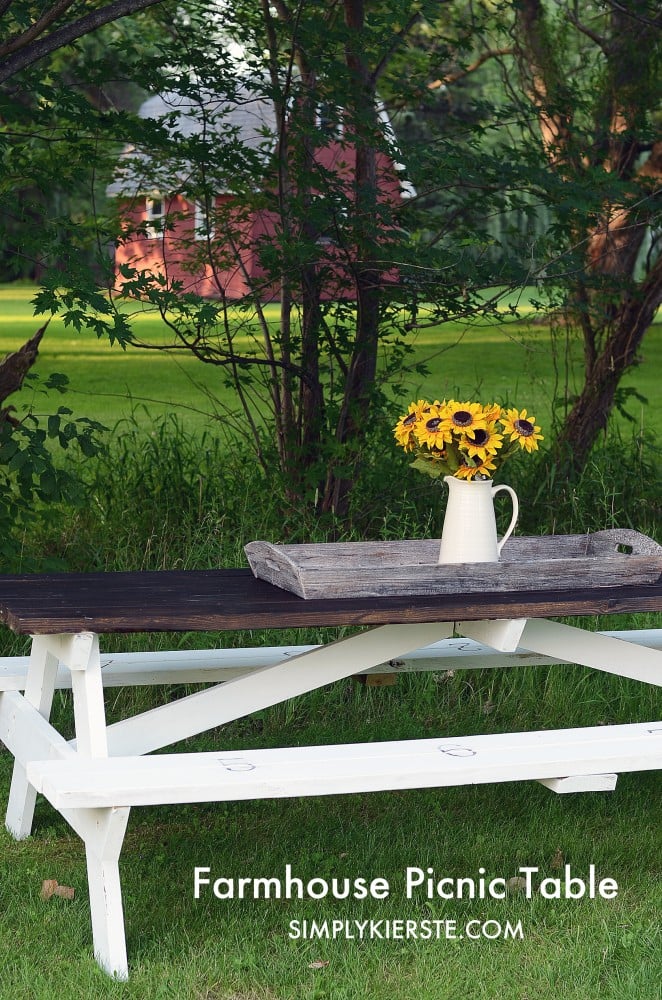
Farmhouse Picnic Table | simplykierste.com

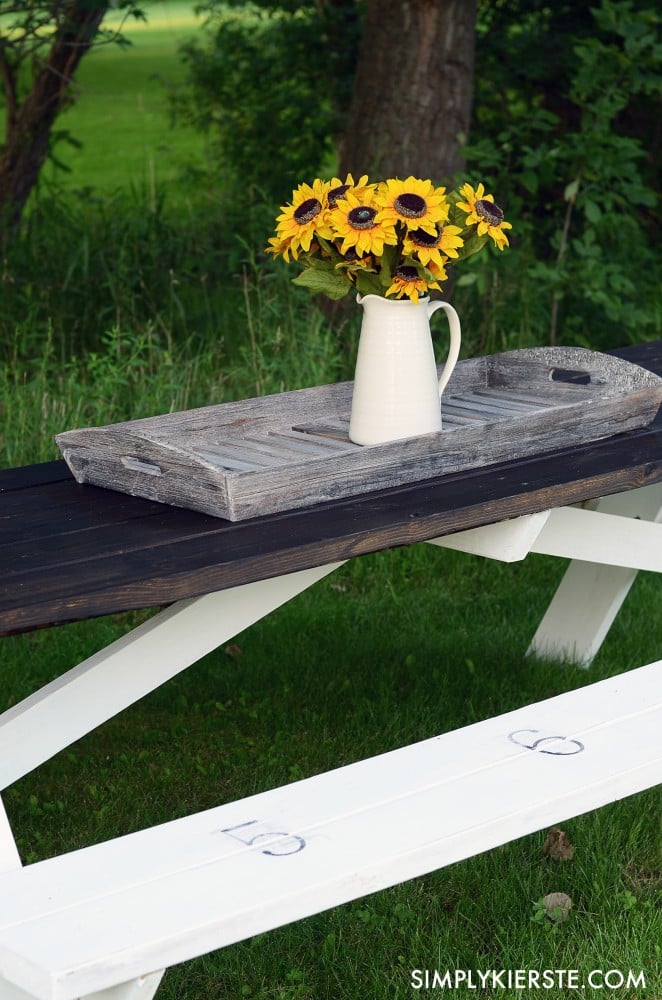
I’m a farmhouse kind of girl, and since I love the look of painted white with a stained top, I decided that it would be super cute on this picnic table.  And it is! I love my farmhouse style picnic table!
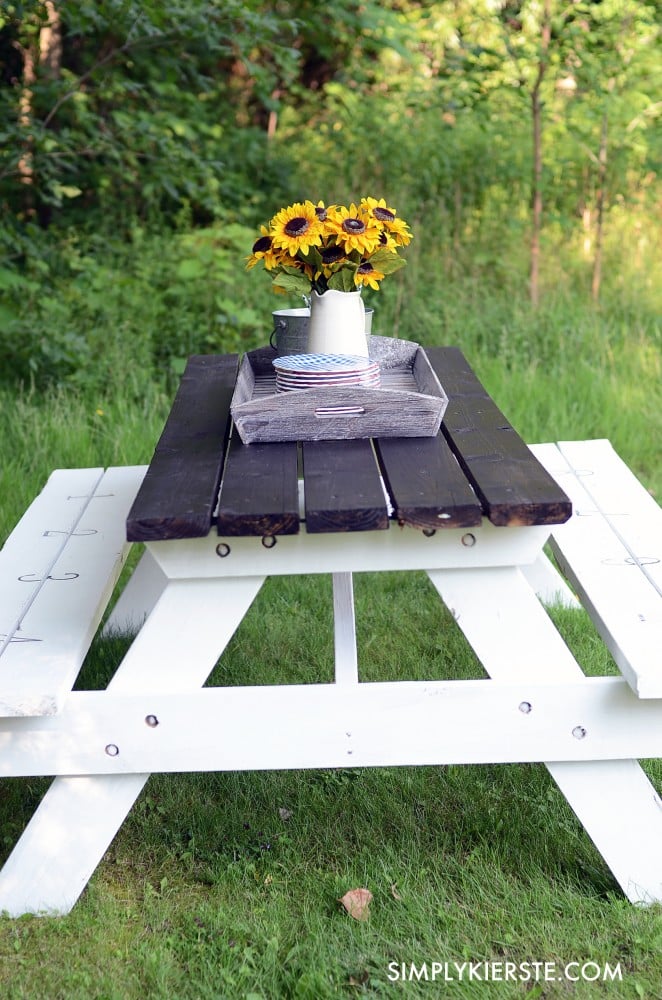
Farmhouse Picnic Table | simplykierste.com

Farmhouse Picnic Table | simplykierste.com

I also added numbers 1-8 on the benches–I love how they look, and I also use them for practical purposes.  Just call me Captain Von Trapp, but my kids each have an assigned number. It goes on their bar stool, shoe basket, coat hook, towel hook, and anything else that will help keep us organized.  When it comes to their kitchen chairs, it eliminates arguing about where everyone sits, and the picnic table fits in that category.

And did I mention it was cute?
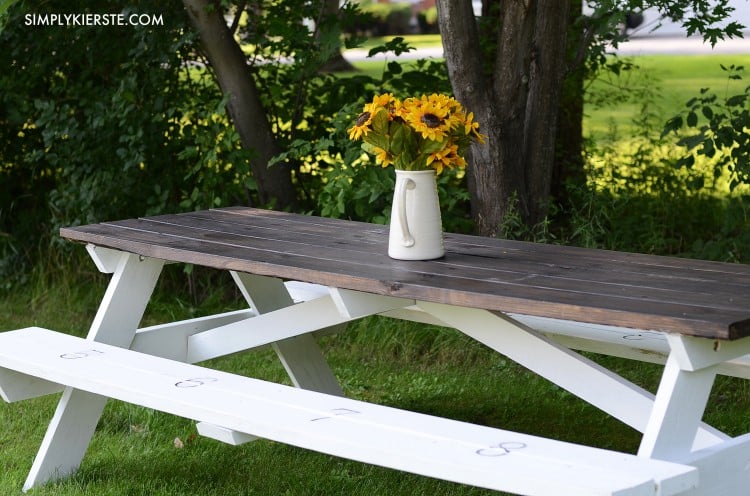
Farmhouse Picnic Table | simplykierste.com

Here are the details: (affiliate links included)

First of all, I’m sorry I don’t have any plans that show how it was made.  My husband and I work a lot together when we build, and I’m always the photographer. Since he did this as a lovely surprise, I have no photos for a tutorial.  However, there are lot of plans online that will work well.

-We used treated lumber so it would hold up in the outdoor weather better.  Treated wood is usually kind of wet when you buy it, and you need to wait about 4-6 weeks to paint/stain, so it can fully dry.

-I stained the top with Dark Walnut by Minwax. It’s my favorite stain!  If you know plan to leave small spaces in between the boards on the top, you may want to consider staining before you put the table together.  You can always do a second coat after it’s done to touch up.  It can be tricky to stain in between the boards after it’s built, depending on how wide the spaces are. If you do that, and use treated lumber, you’ll need to wait before building your table.  You have another option–and that’s to build your table, let it dry the allotted time, then stain the top.  This is what I did, and the spaces of my boards were wide enough that I could place a lint-free rag over a butter knife, dip it in stain, and slide it between the boards to stain in between them.  Worked like a charm!

-I painted the bottom with an out-of-the-can flat white off the shelf at Home Depot. It’s inexpensive, and works well for outdoor projects. I needed two coats for the coverage I was looking for–more of a distressed look. You can always add another coat if you want it more solid white.

-I did a little distressing on the ends and edges of the stained boards, and as well as the white benches.  Not a ton–the weather will do that naturally over time–but enough to give it that lovely weathered look.

-I cut numbers out on my Silhouette Cameo vinyl cutter , then used the negative space as a stencil.  I painted the numbers with Rustoleum flat black spray paint .  I just sprayed the paint into a paper bowl (don’t use foam, it will dissolve it!), and used a foam brush to apply it.  I like it for outdoor projects to much better than craft paint-it’s much more durable for outdoor use.

-The last step is to seal it with Thompson’s Waterseal.  Even though I used treated lumber, I like having this last step as an extra protectant.

I absolutely love how it turned out, and it will be perfect for all of our summer meals and entertaining!
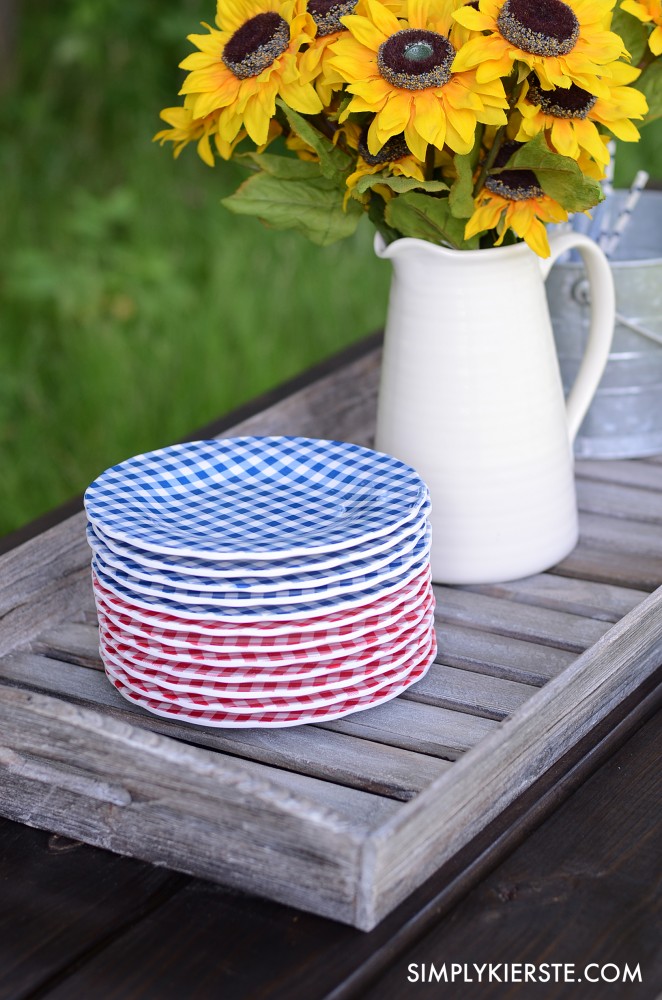
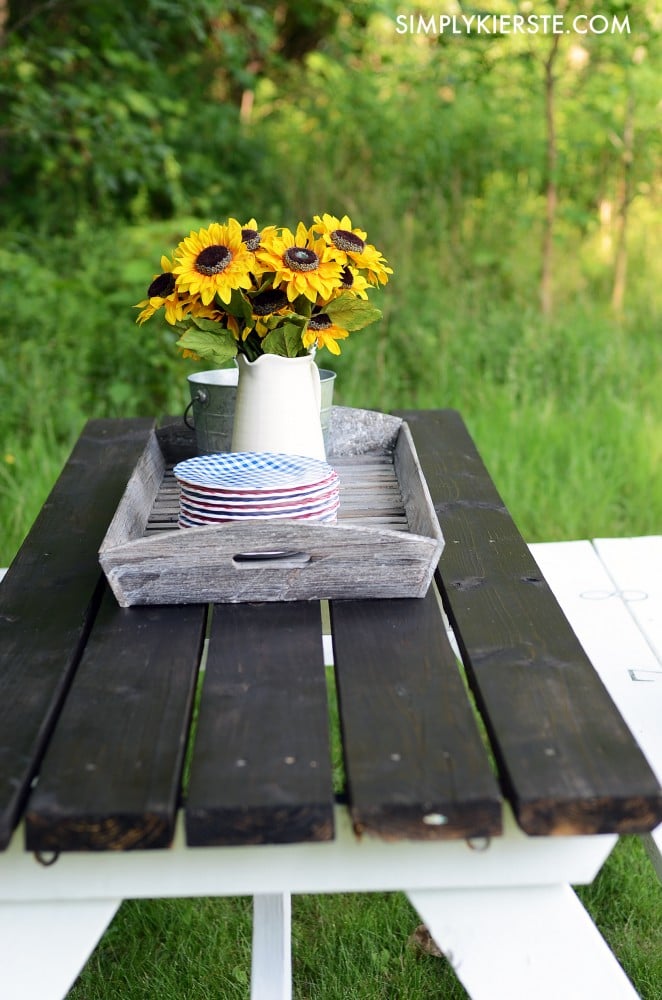
Farmhouse Picnic Table | simplykierste.com

Farmhouse Picnic Table | simplykierste.com

Farmhouse Picnic Table | simplykierste.com

Filed Under: DIY, DIY Home Decor, Farmhouse Style, For the Home, Furniture, Outdoor Projects, Paint & Stain Projects, Silhouette, Woodworking | 6 Comments

« Previous post
Next post »

Lovely comments

  1. Stephanie says

    11/28/2015 at 12:12 pm

    Did you put the Thompson water seal on just stained table top? I didn’t think you could put Thompson on regular paint? Just curious. I am making these for my wedding. They are beautiful! Thanks for sharing .

    Reply
    • Simply Kierste says

      01/19/2016 at 5:08 pm

      Yes–just on the stained part!! Good luck with your wedding—I’m sure it will be beautiful, and I love the idea of using these tables!!! xoxo

      Reply
  2. Kelly says

    07/02/2016 at 1:27 pm

    Beautiful table. I am in process of painting and staining mine. ❤️

    Reply
    • Simply Kierste says

      07/05/2016 at 9:49 am

      Yay!! SO exciting!! Have fun!! xoxo

      Reply
  3. Madison says

    07/19/2016 at 9:29 am

    How long did you wait in between staining and sealing it with Thompson?

    Reply
    • Simply Kierste says

      07/19/2016 at 3:19 pm

      I let the stain dry at least 24 hours–sometimes a little longer, depending on the weather and humidity. Just a note–it’s not really recommended for stained surfaces. :) I do it anyway, and it’s always been fine for me, but I just wanted to make sure you knew before going ahead with it!!

      Reply

Leave a Reply Cancel reply

Your email address will not be published. Required fields are marked *

Join Our Simple Farmhouse Style Community Today!

Farmhouse style, DIY home projects, simple recipes, and ideas for home & family delivered to your inbox.

search

Hello, I'm Kierste--and I'm so happy you're here! We built our farmhouse on nine wooded acres in upstate New York that we've called Old Salt Farm, and this is our journey to make our house a home. Six darling kiddos, one handsome husband, and me!

My Latest Videos

Old Salt Farm Instagram

  • Yesterday I heard something that really had an impact on
  • All things Valentines Day are on my list today I
  • This morning was Henrys turn for Breakfast with Dad They
  • We keep snow boots and muck boots on shelves in
  • Do you have a secret stash of candy or chocolate
  • My windows are all open the sun is streaming through
  • Pro tip After letting your rolls rise dont forget to
  • So what do we do when we cant go outside?

Simply Kierste Design Co. Instagram

  • Happy happy Monday!! All things Valentines Day are on my
  • I had so much fun with this little girls room
  • I grew up having purple cows For those very few
  • I really wanted a chalkboard wall in our kitchen and
  • This yummy bundt cake is known as Dashboard Cake at
  • Does it feel like spring at your house? It sure
  • Our Love Buckets go out tomorrow!! Im so excited! Theyre
  • Anything that uses my kids handprints footprints or thumbprints is

CREATE AT YOUR OWN RISK

Any and all content on this website is created for inspiration purposes only. Creating with my suggested methods, products, instructions, tutorials, and tools is at your own risk. Please ensure you are following proper guidelines with anything used, and seek professional advice if you don't know how to do something.

Simply Kierste is for entertainment purposes only. All tutorials and demonstrations are not intended to be professional advice, nor substitute as such, and I make no guarantees as to the procedures and information here.

Read my full disclosure here.

AMAZON DISCLOSURE

Simply Kierste Design Co. (Kierste Wade) is a participant in the Amazon Services LLC Associates Program, an affiliate advertising program designed to provide a means for sites to earn advertising fees by advertising and linking to amazon.com. Amazon offers a small commission on products sold through their affiliate links. When you make a purchase after clicking on one of those links, I earn a small commission that helps support this blog, at no extra cost to you. Read my full disclosure here.

COPYRIGHT POLICY

The images, tutorials, and content on simplykierste.com are protected by copyright laws. DO NOT distribute or copy the content without written permission. You may not use any images without permission. DO NOT edit or remove watermarks from any image. Pictures are not to be changed or altered in any way, shape or form without my consent. Please do not copy text or reprint recipes without my permission. All ideas and printables are for your personal use only. By downloading any files or printables, you accept that they are FOR PERSONAL USE ONLY. My patterns, ideas and tutorials are NOT intended for resale or re-distribution. Please contact me with any questions. simplykerste@yahoo.com

© Simply Kierste Design Co. (Kierste Wade)

Copyright © 2019 Simply Kierste Design Co. Custom site by Moonsteam Design.
Sign up for a ton of ideas on simple farmhouse style and design, DIY projects for your home, and fun ideas for your kids & family...delivered right to your inbox!
Your information will *never* be shared or sold to a 3rd party. Pinky promise. :)
This website requires the use cookies. By using this site, you are agreeing to our Privacy Policy.