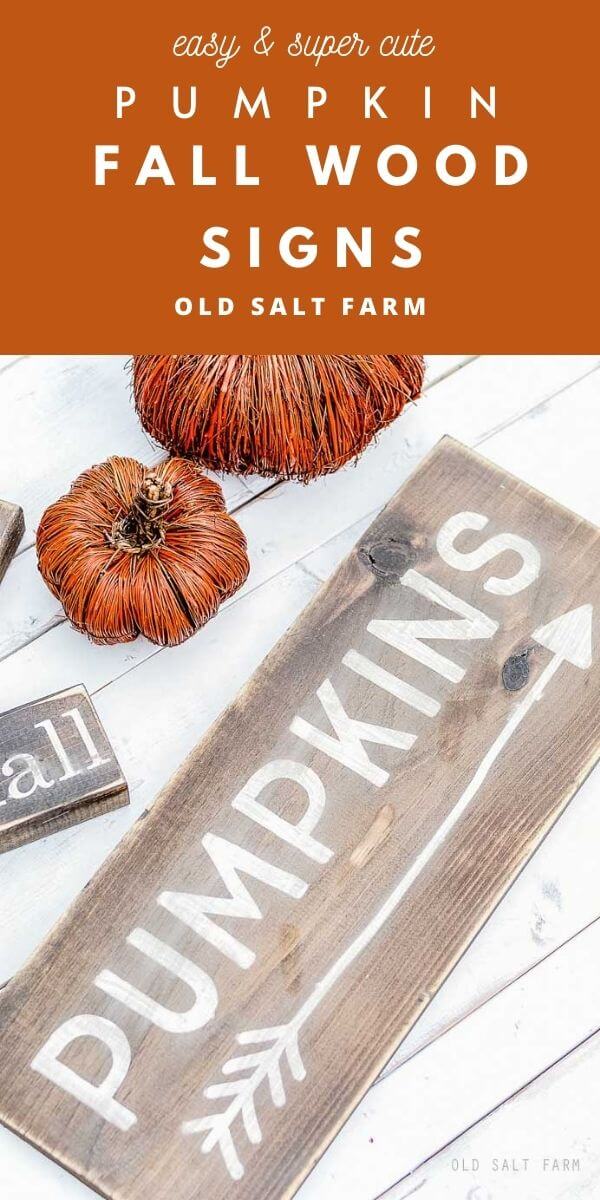
DIY Fall Pumpkin Signs
Anything pumpkins, apples, or fall calls my name, and I made these adorable farmhouse wood fall signs using pieces of scrap wood. I absolutely love how they turned out, and best of all, they’re super easy to make!
Pumpkins Wood Fall Sign
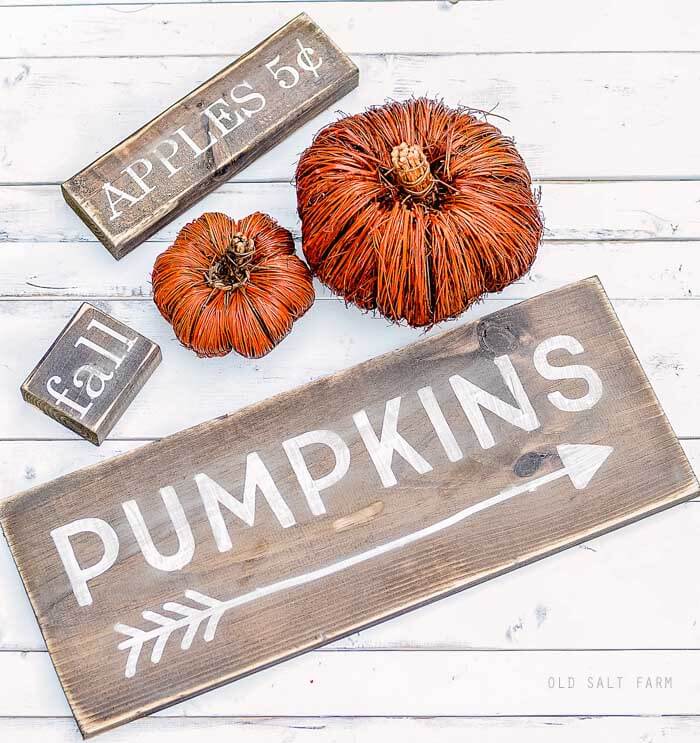
I wanted my signs to look more like barn wood–farmhouse style–and using a stain then sanding the heck out of them helped me achieve that. I used stencils I cut out using my Silhouette, and painted them on with white paint. They were an easy weekend project that was mostly drying time (you need to let stain dry for 24 hours), and now they look so cute in my house!
These are a great way to use up scrap wood, but if you don’t have any, 2×4 posts are cheap! If you want to make the 10 inch sign, but don’t want to buy the whole board, you can always go in on it with a couple of friends–you can make 3-4 signs out of one board, depending on if you get a 6 or 8 foot long board.
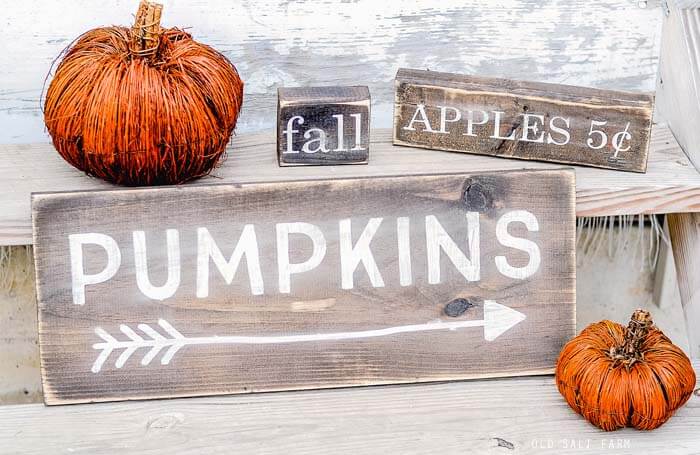
Mantels, entry tables, shelves, kitchen counters—these look super cute anywhere and everywhere!
This post contains affiliate links for your convenience. If you click on a link and make a purchase, I’ll receive a small commission at no extra cost to you.
FARMHOUSE STYLE WOOD FALL SIGNS
SUPPLIES:
- -wood boards
- PUMPKINS: 1 x 10 board, 24 inches long
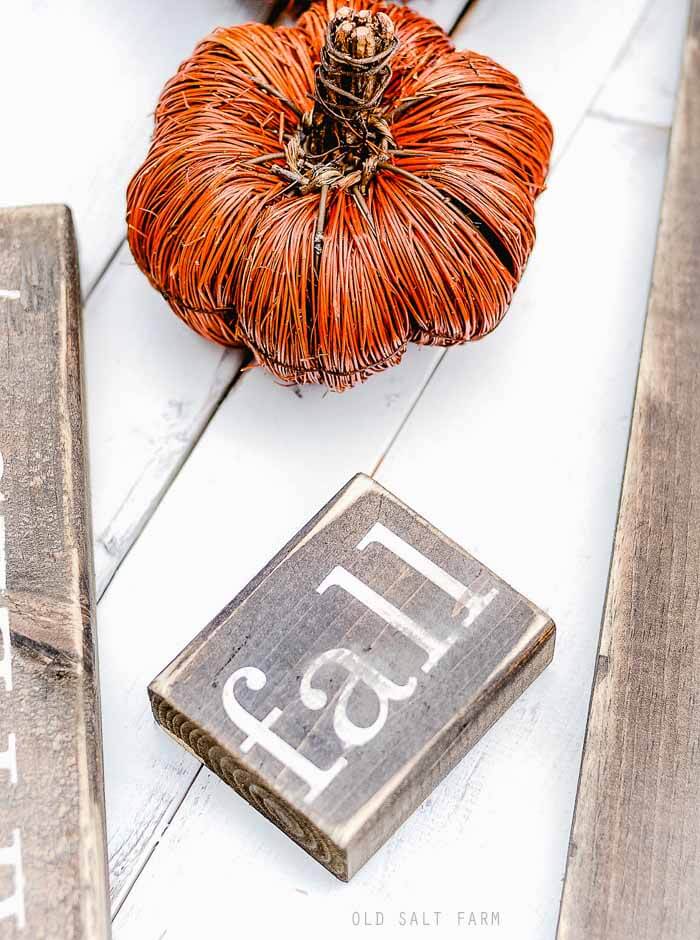
- FALL: 2×4 board, 4.5 inches long
- APPLES: 2×4 board, 13 inches long
- –stain (Minwax Dark Walnut)
- -white paint ( I used latex paint–you can use craft paint too)
- -sandpaper/power sander
- -stencil (cut file included below)
DIRECTIONS:
1. Cut boards to the desired length.
2. Using a lint-free rag (I like using old tee shirts) to apply stain and let dry completely.
3. Stencil on desired text/design. I cut out my designs on my Silhouette (download free cut files below), then removed the letters and applied the negative space to my board–the painted on the letters.
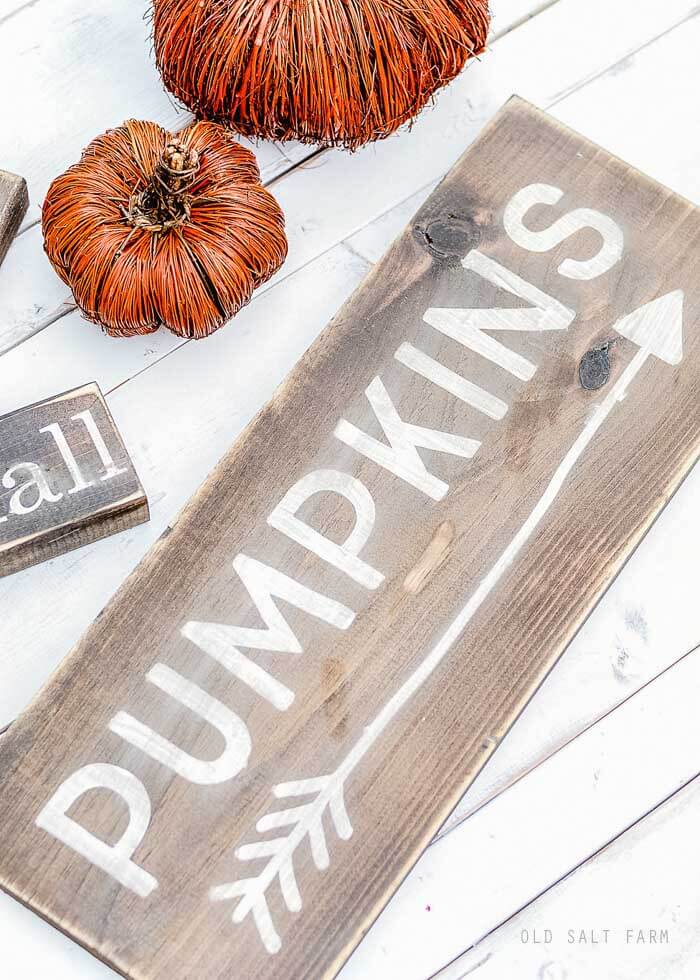
4. After the paint is dry, remove vinyl/stencils and use a power sander or medium grit sandpaper to distress your sign as much as you like. I do a bunch on the edges and then go across the top to distress the lettering and top of the board. Be careful on the lettering–the paint comes off fast!
5. Wipe off dust, and you’re finished!
DOWNLOAD:


A few more fall ideas you might like…
- Striped & Polka Dot Fall Candlesticks
- Fall Bucket List…19 Ways to Celebrate Autumn
- Farmhouse Fall Wreaths & Pillows
- How to Make Perfect Caramel Apples
- Hello, Fall Gift Tags