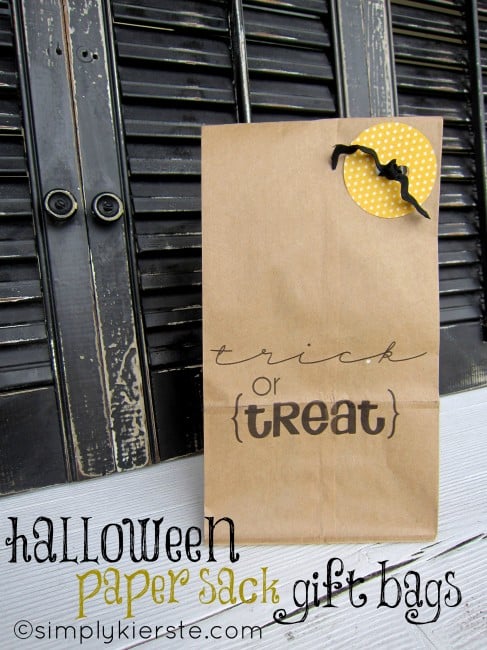
Halloween Paper Sack Gift Bags
I adore paper sacks. I love what they look like, how inexpensive they are, and their versatility. I just love being able to put them through my printer, adding fun text or graphics to create super cute invitations, gift bags, or party favor bags. Last Christmas I used them for our neighbor treat bags, and I couldn’t wait to use them again for Halloween! You are going to LOVE that these Halloween Paper Sack Gift Bags! They are so incredibly easy to make, plus super inexpensive, which makes them perfect for classrooms, parties, and more–and customized for any holiday or party.
When I was at the grocery store a couple of weeks ago, I was thumbing through a Martha Stewart magazine (obviously I didn’t have my kids with me, lol), and saw where they used yellow cardstock and black ribbon to make it look like a bat inside of a moon, and I knew it would be perfect for this!
{Supplies}
-paper sacks (lunch size)
–trick or treat text (click for pdf file, if you want to use the one I made for this!)
-printer
-yellow cardstock
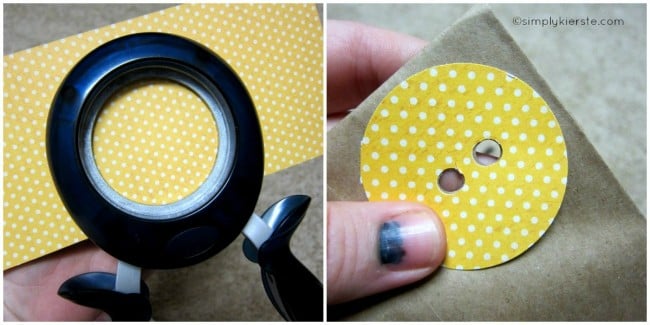
-2 inch circle punch (or glass and pencil to trace)
-hole punch
-black ribbon or ric rac
{Directions}
1. Create text, then run the paper sacks through the printer. To see a step-by-step tutorial of how I used my printer to make them, you can see them in my Christmas post, HERE.
2. Once your paper sacks are printed, fill them as desired.
3. Cut or punch a 2 inch circle out of yellow cardstock. Fold over the top of the paper sack, hold the circle near the top, and use a hole punch to create two holes through the sack and the circle.
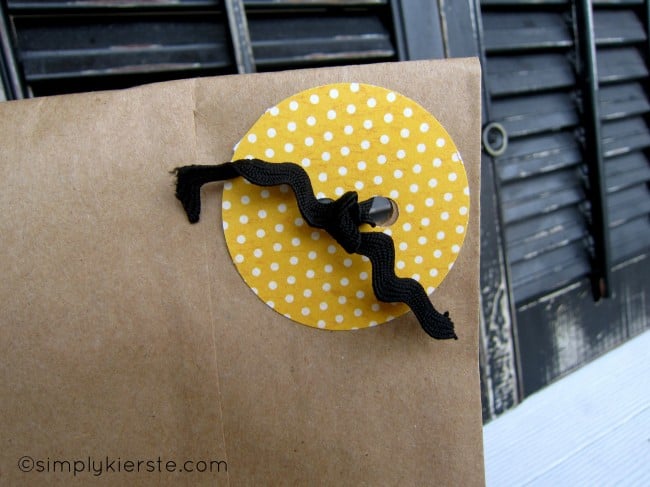
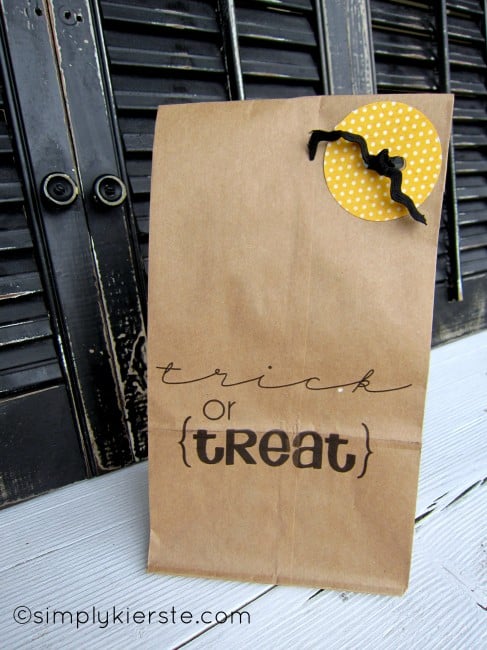
4. Tie the black ribbon or ric rac through the holes, and you’ve got a black bat in the moon!
You’re done! {LOVE}!!!! Easy peasy.
If you’re looking for some other fun Halloween projects, check out come of my favorites!
Candy Pumpkin Bracelets, Spooky Soap, Trick or Treat Boxes, Halloween Book Countdown, Trick or Treat Buckets
{kierste}


