Hello Fall Wood Sign + Free Silhouette Cut File
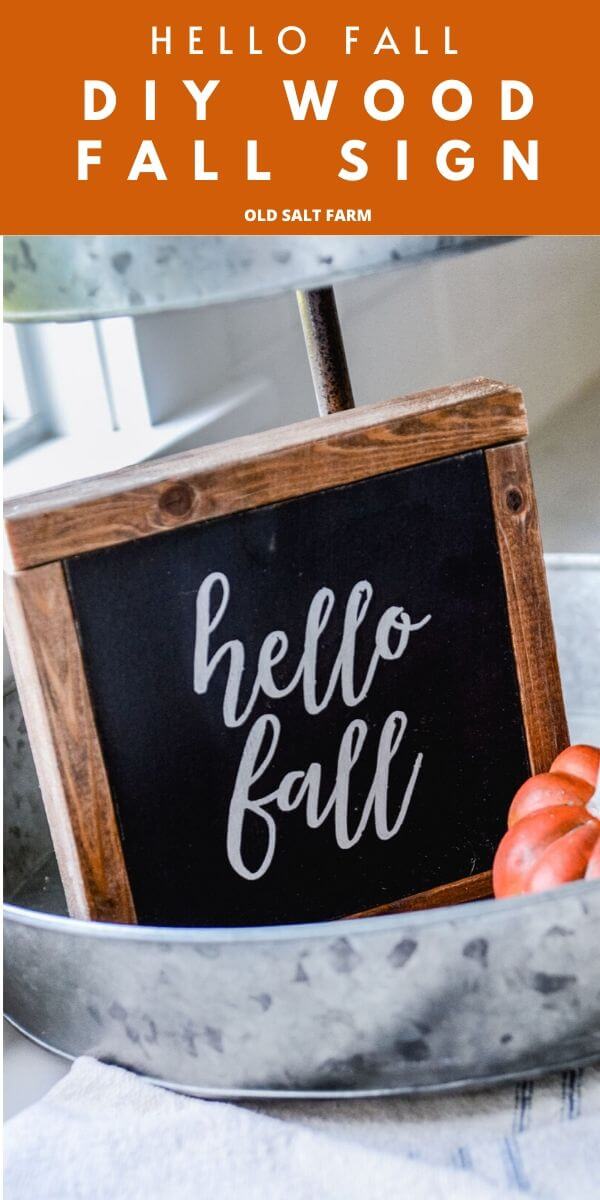
I’m so excited to share another fall wood sign today…and I know say it every time, but this one is my favorite. A girl can have lots of favorites, right? This is a simple sign that says “hello, fall”, and it’s such a fun size–just 6 inches square. It’s perfect for a shelf, counter, table, or windowsill!
![]()
These would make the cutest gifts too…think hostess gifts (fall parties and Thanksgiving), teacher gifts, and so much more!
![]()
Affiliate links are included below. If you click on a link and make a purchase, I will receive a small commission at no extra cost to you. Please find my full disclosure here.
I used my Silhouette to cut out the vinyl for this project–and I love being able to cut out the vinyl, then use the negative space (I remove the words, and leave the outline of the words) as a stencil so I can paint it on. It’s an easy and fun technique that I use for all of my wood signs, and I love it!
![]()
HELLO FALL WOOD SIGN
I decided to paint the wood black and use white for the text, which I absolutely love. You can definitely choose to do it the opposite way, and even change the size if you like.
SUPPLIES:
-MDF
-Furring Strips
-Paint for text and main color
-Foam brush
-Sander/sandpaper
-Vinyl stencil (download cut file below)
DIRECTIONS:
I made it just like my Farmhouse Wood Sign, (TUTORIAL HERE) with a few small exceptions.
*I cut the wood from MDF, so I could control the exact size I wanted it to be. I chose 6 inches x 6 inches, but you can make it smaller or larger if you like.
*I also put the top of the furring strips flush with the sign, rather than the bottom, so the entire top of the sign is smooth. You can do it the other way too!
*Instead of using the negative space for your stencil, you can actually paint the wood the color you want your text to be (in this case, white), then put the actual letters on the board (not the negative space) and paint the other color (black) on top. Once the top color is dry, remove the letters, and you have your text! I like to do it this way when my text is lighter than the main board color, which I did in this case.
DOWNLOAD SILHOUETTE CUT FILE HERE!
![]()

More fall ideas you might like…