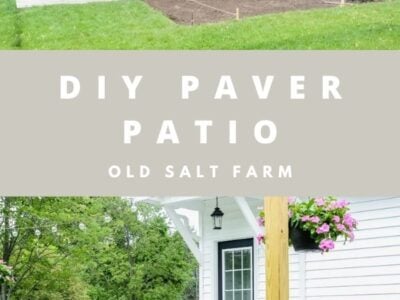
How to Build a DIY Paver Patio
When we were building Old Salt Farm, it wasn’t in our budget to pour as big of a cement patio as we wanted. So we had them pour just the bare minimum that came with our building contract, with the intention of adding more later. We planned on waiting until now…this summer…to pour an additional section next to the original one, and extend the entire patio. After a few eye-opening phone calls to get bids, I realized just how expensive cement is, especially living rurally as we do. There is a certain threshold that companies charge just to get their equipment to our home, so our smaller project became much less cost-effective than we though it would be. We decided that we would take matters into our own hands, and build a DIY Paver Patio. I was reminded why we love DIY projects—results we love and want for much less money.
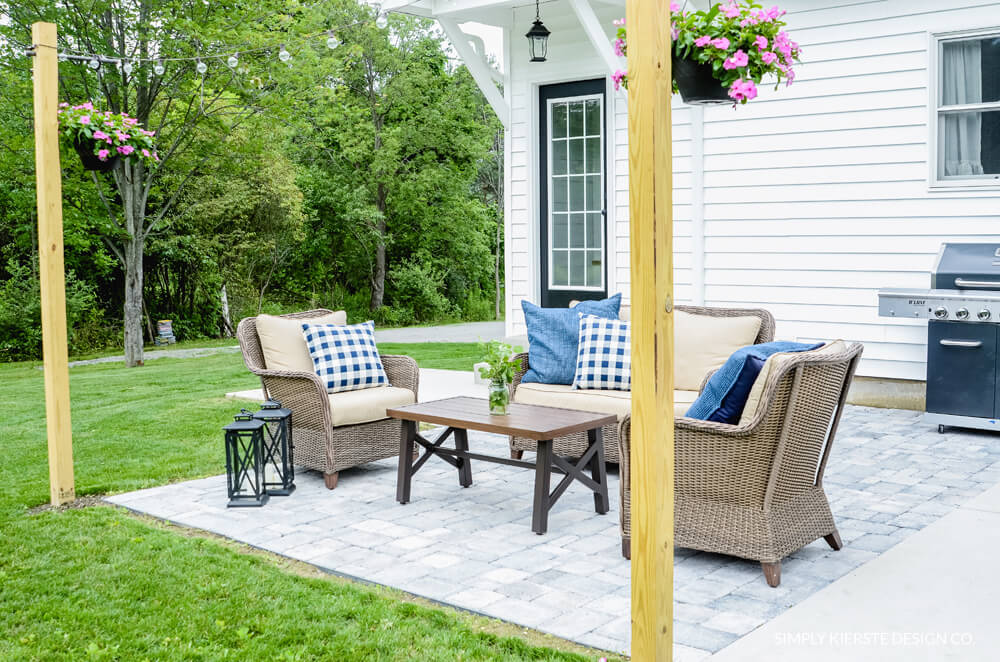
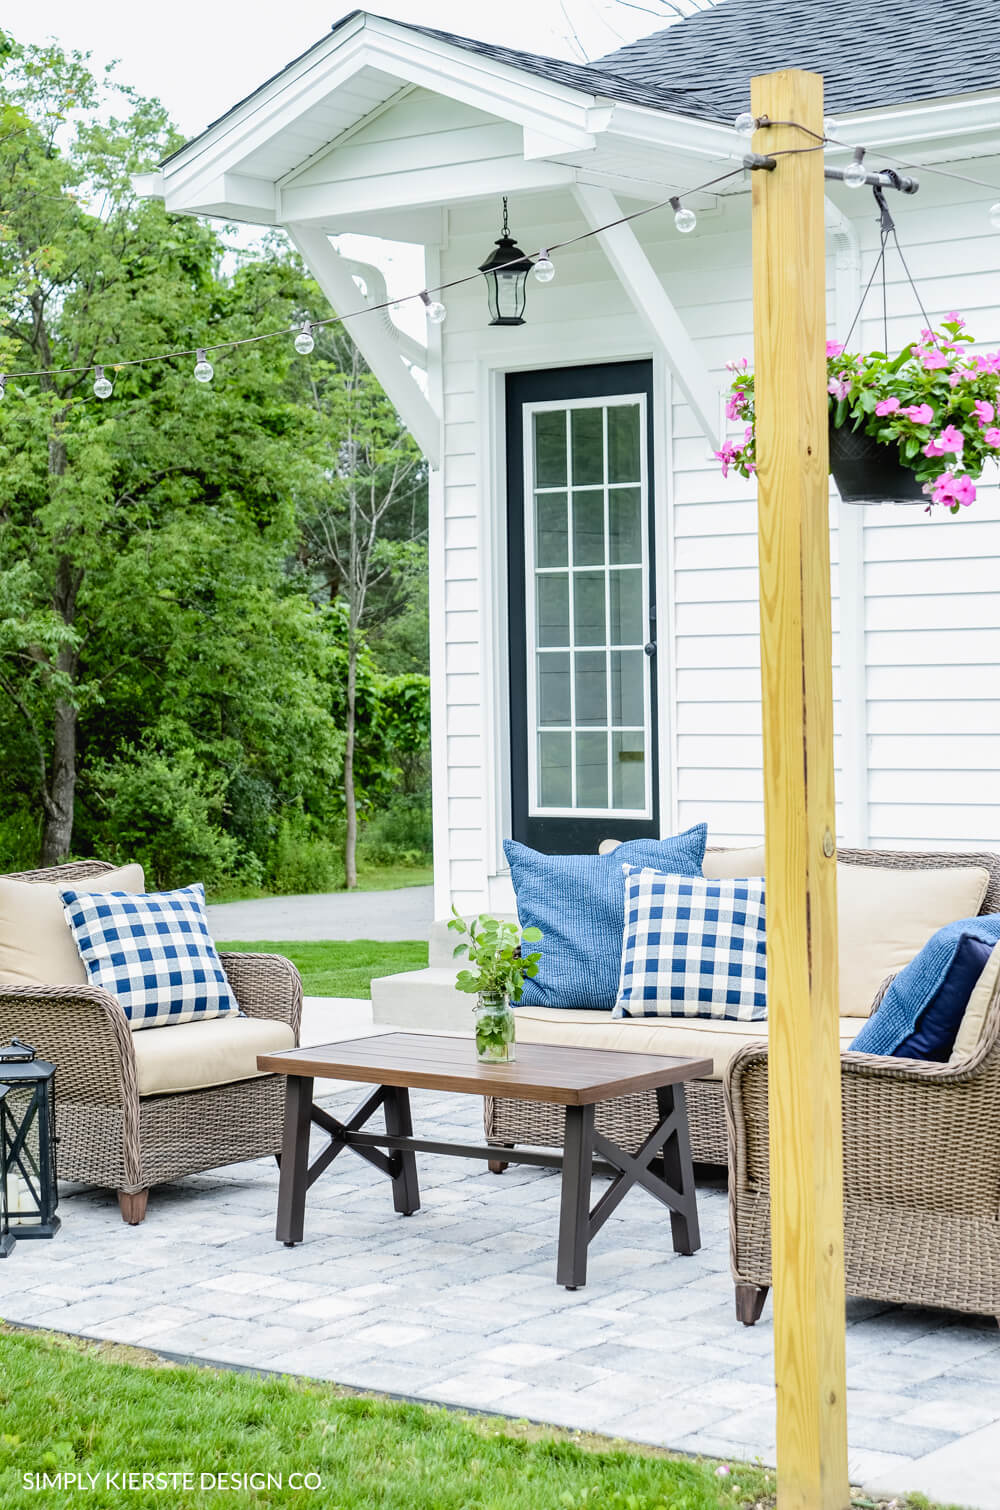
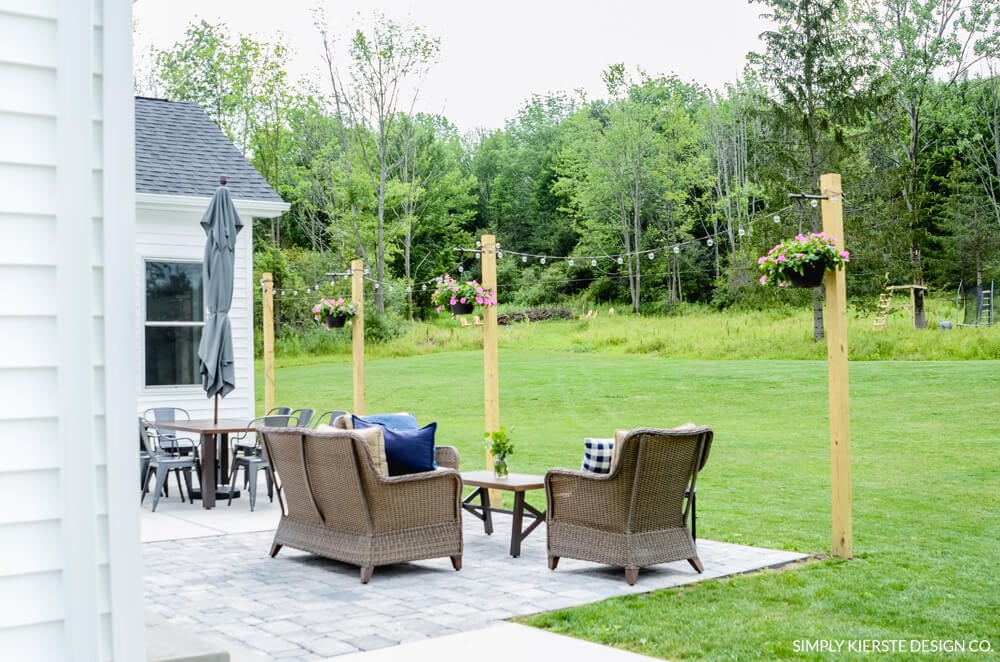
After I thought about it for a few seconds, I realized that I would probably love it even more than cement, and it would definitely add some character to the back of our house and patio area. We’ve been able to utilize our backyard so much more often, because there’s the added space for sitting and entertaining. The pavers give it a different look, but also goes well right next to the original cement, which I was happy about. Best of all, it fit our budget, and allowed us to extend our patio in order to give us a much bigger space to utilize.
I absolutely love how it turned out, and I’m here to tell you that you can build one too! It’s a doable DIY project that can give your backyard new life and a new patio.
I’ll tell you now–it’s not necessarily a difficult project, but it is time consuming. How long does it take? The size of your space will determine how long it takes–and how much time you have to spend on it. We added a 16 x 12 section, and it took 4-5 days of solid work to get it completed. The part that took the longest was digging out the grass and dirt down 7 inches. But I will say that is TOTALLY worth it, and saved us so much money–literally 2/3 less than pouring cement. And…I like it so much better!
I’m going to make a list of supplies you’ll need, then give a step-by-step list of directions, plus some of the things we learned (the hard way) along the way. We totally lucked out, because we had some awesome extra help–my cute dad came out to help us get our yard in shape, and he did SO much work on this patio. A set of extra hands goes a long way, and will definitely make the job go faster. You do really need two people for some of these steps.
DIY PAVER PATIO
PAVER PATIO SUPPLIES: (Affiliate links included below)
- Gravel (4 inches for entire space)
- Sand (1 inch for entire space)
- Stone, concrete pavers, or brick pavers (We used Pavestone RumbleStone (color: Greystone) from Home Depot in three different sizes...10.5 x 7, 3.5 x 7, and 7 x 7, all 2 inches thick.)
- 1 inch PVC pipe
- Landscape fabric
- Rubber Mallet
- Level
- Angle Grinder
- Patio Edgers
- Plate Compactor (we rented this at a local tool supply company for a day)
- Masonry String
- Stakes
PAVER PATIO INSTALLATION INSTRUCTIONS:
MEASURE YOUR SPACE—
This will help you determine how much you need to order–pavers, sand, and gravel. You’ll need width and length. A building permit may also be necessary in some areas, so make sure you check with your city or town before you start or buy supplies. You’ll also want to plan out the pattern, and how you want to lay out your bricks or pavers. We decided on a simple paver design, but there are other more advanced styles, such as herringbone, that you could consider, but they are more complicated and require more cutting.
ORDER SUPPLIES—
-PAVERS: The good people at Home Depot helped us figure out how many pavers we need, which was extremely helpful, since we had three different sizes. Wherever you get your pavers, they should be able to do the same. The pavers are super heavy, and we were doing a large enough space that they were way too heavy for our trailer to pull. Home Depot does deliver (I’m sure other companies do as well), and it was necessary in this case.
-GRAVEL: You need 4 inches of gravel to cover your space. It’s ordered in in cubic feet or yards, and you can easily calculate that HERE. Because the gravel will be compacted down, we ordered 10-15% extra to make sure we had enough.
-SAND: You need 1 inch of sand to cover the space, plus a little extra to go on top–again, we ordered 10-15% extra. We ordered both the gravel and sand through a landscaping company that delivered it to our home (dumped it on the driveway), which was WAY cheaper than ordering it through Home Depot. Home Depot only carries them in smaller, individual bags, which if you are doing a very small space, might be the best route. For us, it would have been triple the cost! We saved a bundle doing it that way, and made it way more cost-effective.
START DIGGING!
To determine how deep you need to dig, add up the thickness of your pavers, plus the 4 inches of gravel and 1 inch of sand. Our pavers are 2 inches thick, so we needed a total of 7 inches in depth. We dug up the grass, keeping it in chunks, so we could replant it in other places around the yard, and along the edges of the patio once we were finished.
We staked out the entire area, marking the perimeter of the patio, using masonry string from corner to corner. This not only showed us how far we needed to go on those non-cement edges, but it also indicated how level everything was. You’ll want a slight slope for drainage. We didn’t need to calculate that, because our lawn was already had a slope–we just followed the slope that was already there.
For any edges that aren’t against the house or cement, you’ll want to dig out about 6 inches past where your pavers are going to go. This makes it easier when you’re compacting everything down. We used the compactor to get the dirt as smooth and firm as possible, before adding the gravel. Rake the ground level, to ensure that best possible result and prep it for the gravel base.
To prevent weeds in between your pavers, consider laying down landscape fabric underneath the gravel. You can cut the edges so it fits your space. It works to let water flow through, but blocks weeds.
ADD 4 INCHES OF GRAVEL — PAVER BASE
Shovel the gravel over the entire area, and use a rake to smooth it out, followed by the plate compactor to press it down really well–at 2 inches, then again at 4 inches. How do you know you have 4 inches? We made marks on the side of the cement so we would know when we were at the right place, then used a board that was the length of our space to check for levelness. The gravel base is really important, so make sure that everything is level and
ADD 1-inch LAYER OF PAVER SAND
Next up…sand! In the supplies list, I added a 1-inch diameter PVC pipe. This is an optional item, but we found it invaluable. We laid the pipe down lengthwise down our space, then added a 1-inch layer of sand. Sweeping the sand into place works well. Once our pipe was barely covered, we knew we were at the right level. The board came in handy again at this point–for smoothing and a level check. When the sand was in place, we compacted again. Use a garden hose to spray the sand lightly with water–this helps it to settle and compact more easily.
LAY OUT PAVERS
Before you start laying them out, decide on the pattern you plan to use. I’ll be honest–we didn’t really have a specific pattern, we just went for it! We used three different paver sizes, and just started putting them down side-by-side! It wasn’t for lack of wanting a plan, but we just hadn’t put it down on paper yet, and I was feeling impatient. I don’t know that I can suggest doing it that way, but it worked for us! A rubber mallet helps to get the pavers in firmly, and even squeeze them in some tight spots. We used our angle grinder to cut a few pavers to fit alongside one edge, and around a downspout. You could also a circular saw, but you must use the right blade for the material you’re using. Consult with your local hardware store to double check what you need.
ADD PAVER EDGING
Once the pavers are down the way you want them, you’ll need to add the edgers any place they don’t meet up with cement or your house. This keeps the pavers in place. We just cut ours to the size we needed it!
ADD THIN LAYER OF SAND & FINAL COMPACTING
After the paver edging is set, you’re ready to add a thin layer of sand on top of the pavers. We used a large push broom to tamper down the sand and get it into all the cracks, then used the compactor to push the pavers firmly in to place.
PUT BACK GRASS AROUND EDGES
Since we dug out about 6 inches past where our pavers were going to go, we wanted to put grass back in along the edges, and on top of the edging we added.
TOTAL COST:
It was right around $950 for our 16′ x 12″ space—and the cement bid for that same space was over $3000. That money includes the angle grinder, which was about $80, so if you can borrow that from someone, it will cost even less. Your cost will vary based on the size of the space, what pavers are used, and the difference in rental costs. Overall, we are very pleased with the how it turned out, and how much we saved by doing it ourselves!
I am thrilled about our beautiful new DIY Paver Patio! I’m smitten, really–I absolutely love it, and can’t keep staring at it outside the window. We are ready for summer entertaining…can’t wait!

UPDATE:
It’s been a few years since we installed our DIY patio, and we still love it! I will say that I highly recommend adding the landscape fabric to keep out the weeds. This is something we did not do (I can’t even remember why!), but I think about it all the time now! We live in a humid climate, and they seem to grow like crazy. Definitely add that step in if you can!