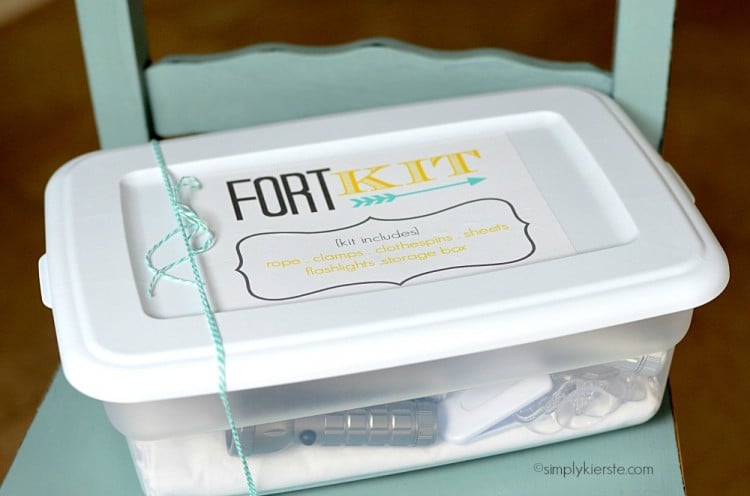
No-Sew Fort Kit
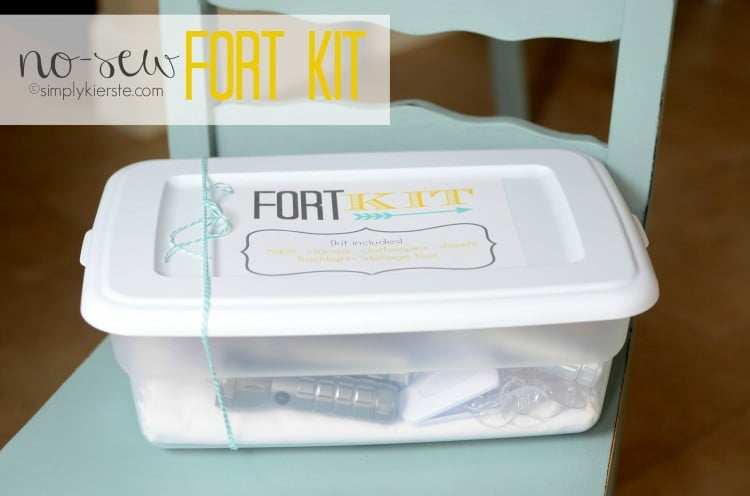
An easy No-Sew Fort Kit that will bring hours of entertainment!
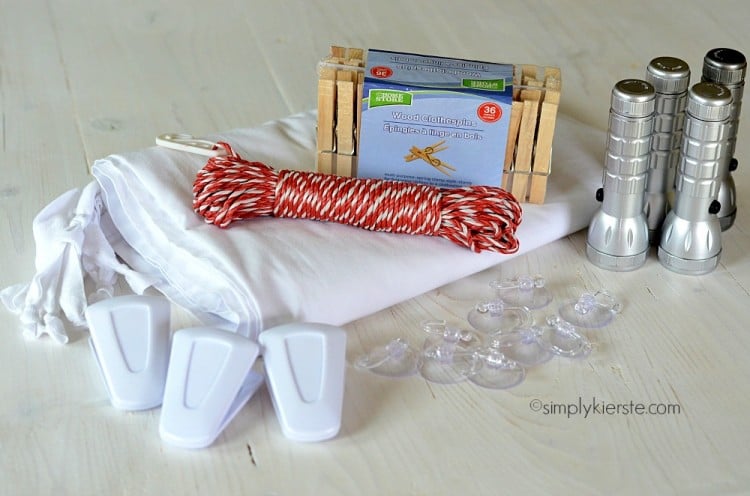
No-Sew Fort Kit Includes:
- sheet with ties
- rope
- clothespins
- clamps
- suction cups
- flashlights
My kids adore making forts, and I know this will be a fabulous addition to our playroom. It’s also quick, easy, and inexpensive, making it a fabulous holiday or birthday gift!!
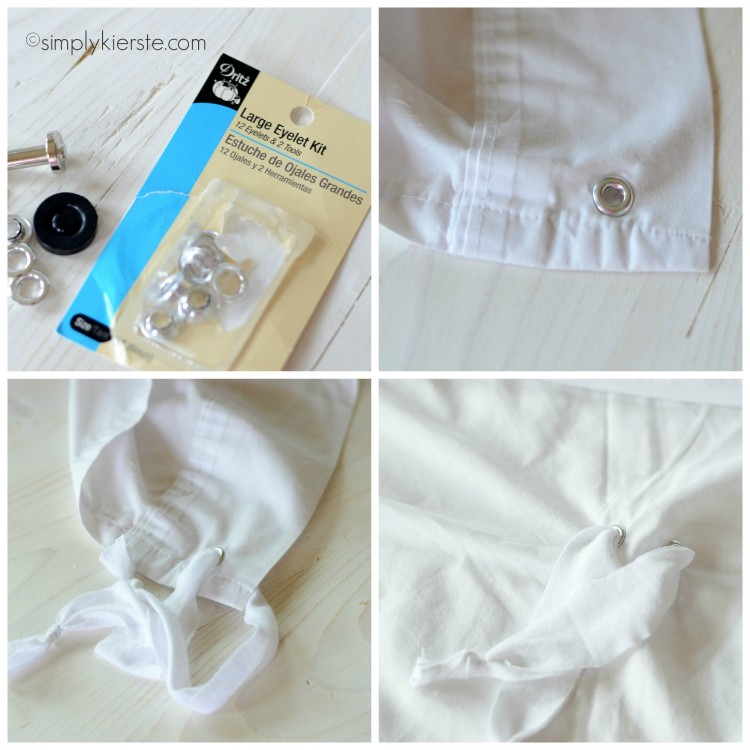
I knew I wanted to make one that was no-sew–I have a sewing machine, and I can use it, it’s just not my favorite thing to do, and it usually takes me a lot longer than I want it to. The ones I’ve seen have ties sewn into the corner of the sheet, but I knew there had to be another way. So…I went searching at JoAnn Fabrics and came across a large eyelet kit, one large enough that ties would fit through, and would go through fabric. HOORAY!!! It had everything you needed, except a hammer–perfect.
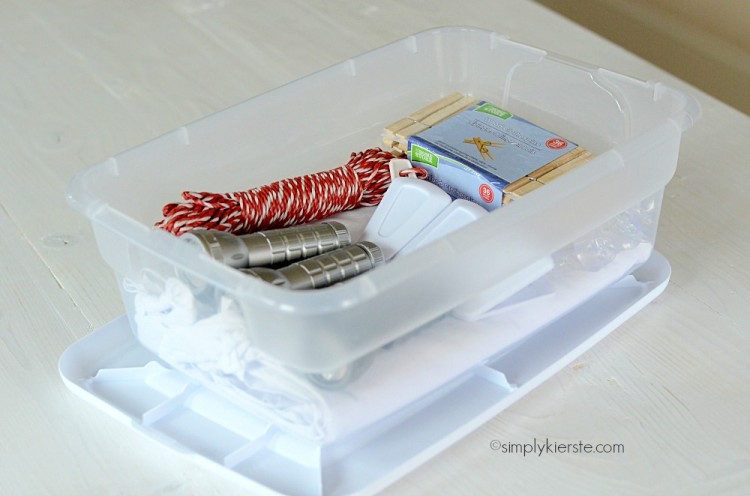
I’ve seen all other fort kits in bags, and I really didn’t want to use a bag for a couple of reasons. Okay, one of the reasons is that I didn’t want to make it, lol, but the main reason is that I have all the toys in our playroom either in labeled bins or buckets, and I like the look of everything stacked up together. I decided to use a Rubbermaid container instead, and I LOVE it. It’s perfect on our toy shelves!
No-Sew Fort Kit Directions
SUPPLIES
*I bought all of the supplies except the Rubbermaid container at the dollar store. I found the container at Walmart for $2, and I already had the sheet at home. I bought four flashlights–one for each of my littles that would be using the fort–because I didn’t want any fighting about them, and I knew they would each want one. You don’t have to have that many, and it would decrease your cost by $1 each. My total cost: $13, including the eyelit kit from JoAnn Fabrics. I had more than half of the eyelets leftover, so you if wanted to do this with a friend, it would decrease the cost even more.
- -12 Qt. plastic container (mine is Sterilite)
- -large eyelet kit
- -jersey tee shirt
- -clamps
- -clothespins
- -rope
- -flashlights
- -suction cups
- -sheet
- –FREE LABEL PRINTABLE
DIRECTIONS
1. Following the directions on the eyelet kit (I found it in the aisle with snaps and other fasteners), place one in each corner of your sheet, plus two about 1.5 inches apart in the center of the sheet. I cut apart an old jersey tee shirt (they stretch really well, and don’t fray) into strips, threaded it through each eyelet, and tied knots on the ends so they couldn’t come through. I threaded one strip through the center two eyelets, and tied knots in the ends as well. Fold the sheet so the ties are in one corner.
2. Gather your supplies, and place them inside your container. The 12 qt. is the perfect size!!!
3. I created a printable to go on top of the lid, so we would be able to keep track of the contents. I printed it out on a full sheet white label (you can get them from Office Max), or if you have the printable white adhesive paper from Silhouette, you can use that too. It was super easy to print, peel off the back, and adhere to the top of the lid. You can download the printable HERE.
That’s it! Super easy to put together, and took less than 30 minutes. Woot!
